It is easy to view ear wax as an annoyance, but like most secretions, it has an important purpose. It's a cleaning agent, produced by your ears to prevent them from drying out. It contains protective and anti-bacterial agents to help your ears stay healthy.
However, various factors can cause more wax than is needed to collect in the outer part of the ear canal and if this is left untreated, it can cause pain and eventually require medical intervention. But don't worry, help is at hand in the form of these effective remedies you can try at home!
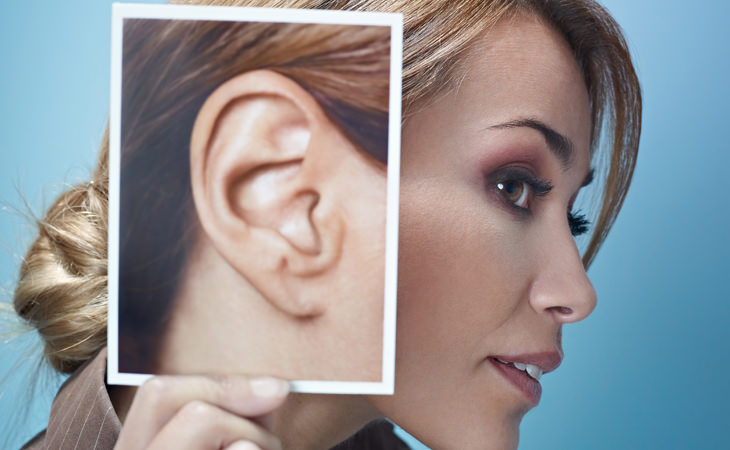
What is Ear Wax?
'Wax' is something of a misnomer for the body fluid that forms in your ear. It is actually a water-soluble mixture of various secretions mixed with hair and dead skin, formed in the outer part of the ear rather than the inner drum. Your ears are self-cleaning for the most part, and the secretions help move dead skin to the opening of the ear, aided by the jaw motion you use when you chew. Once out in the open, 'wax' will usually dry out and flake away naturally. However over time it can build up and cause other problems, sometimes aided by overproduction or a blockage within the ear canal.
What You Shouldn't Do
Firstly, don't fall into the trap of thinking that digging every last bit of wax out of your ear constantly is an indicator of good personal hygiene. Remember that ear wax has its uses and removing it excessively can cause your ear canal to dry out. However, if it accumulates in excess, it can cause discomfort and even pain. It is in these circumstances that you need to take action.
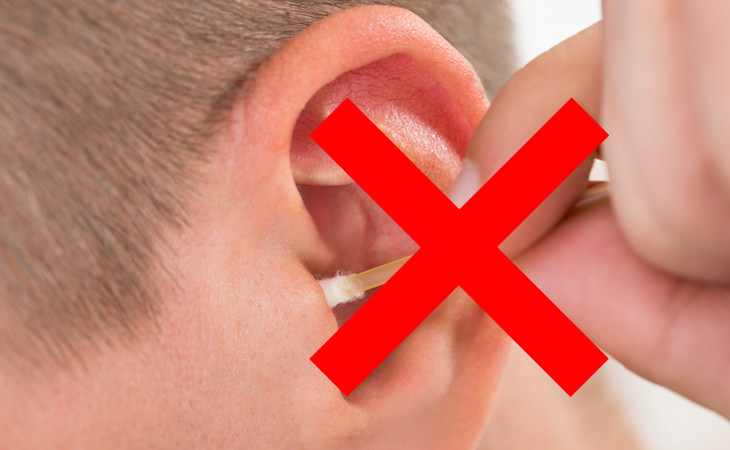
The other big 'NO' is the use of homemade poking and scraping devices down your ear hole. Q-Tips, bobby pins, pencils and any other similar instruments are NOT suitable for cleaning your ears, no matter how many times you might have used them in the past. Although you may see remnants of wax on your Q-Tip after you have had a good rummage down your ear, you will more than likely have pushed other clumps further into your ear canal. Additionally, if you prod down too far then you could cause serious damage to the inner ear.
Signs You Need to Take Action
Since you don't need to constantly clean the wax out of your ears, what are the signs that you have an excessive buildup that you need to deal with? Different ears produce different amounts of wax. It may be that you know from past experience that you are likely to have excess wax. There are a number of other signs that can indicate a problem too:
- Earache
- Strangely muffled hearing
- Tinnitus or ringing noises in ear
- Itchy ears
- Odor and noticeable, moist discharge
- An uncomfortable sensation of 'fullness' in the ear
You can buy ear drops and wax removal kits or visit your doctor, but the answer to your problems can also be found in natural remedies you can make in your own home. Here are some that have proved useful to many:
N.B. - Please note that these remedies should not be used if you have an ear infection, hearing loss or a severe earache.
1. Salt Water
Salt water is one of the best home remedies for excessive ear wax. It works by softening the wax inside the ear and flushing it out to the surface:
- Take a teaspoon of salt and drop it in a half cup of warm water. Wait until the salt dissolves entirely.
- Take a soft, cotton ball and dip it in the solution.
- Tilt your head so that your affected ear is facing skywards. Place the cotton ball over the opening and let the solution drip into your ear canal.
- Keep your head tilted for three to four minutes.
- Tilt your head downwards to let any excess solution drain back out.
- Wipe the area around the opening of your ear with a clean cloth to remove softened wax.
2. Olive Oil

Olive oil can also soften ear wax. It also lists 'antiseptic properties' among its many benefits so it can help reduce your risk of an ear infection as well:
- Slightly warm some olive oil. Make sure it isn't too hot to touch of course, as you should be able to easily bear it against your skin.
- Put two to three small drops of the oil into the ear, using a dropper or, ask someone to do it for you.
- Let the solution settle for ten minutes and then tilt your head to remove any excess.
- Repeat the process before bedtime for 3-4 days.
3. Hydrogen Peroxide
Hydrogen peroxide is used in many of the over-the-counter ear drops you can buy for wax removal. It is important that you don't use this one if you have sensitive skin. Always make sure that the peroxide you use is less than 3% in strength:
- Mix together equal parts water and (3% or less) hydrogen peroxide.
- Tilt your head sideways and drop a few drops of the solution into your ear (ask someone else to do this for you if you don't have a dropper).
- Make sure you place a towel over your shoulder to catch any loose drips.
- Allow the solution to stay in the ear for 10 to 15 minutes. Lie down on a pillow, keeping the treated ear pointed skywards if it helps.
- You should feel tickling or a bubbling sensation.
- When this sensation stops, remove the solution by tilting your head the other way, and dry your ear with a clean cloth.
4. Vinegar and Rubbing Alcohol Solution
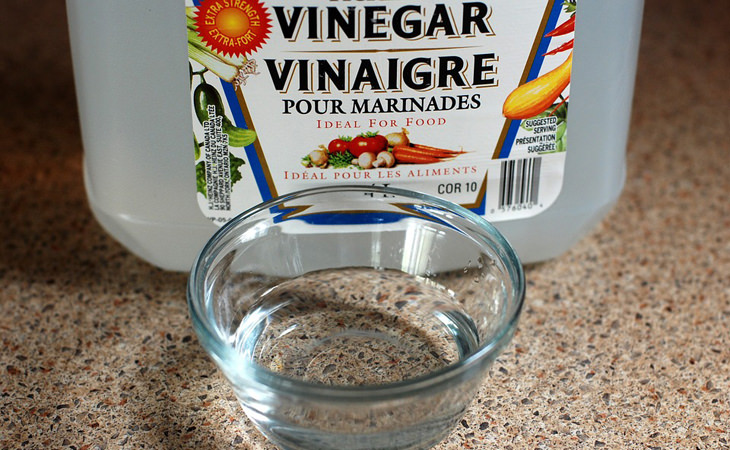
This is a remedy from a bygone age and works by dissolving the ear wax. The antibacterial properties of the vinegar also help keep infection at bay.
- Mix equal parts white vinegar and rubbing alcohol in a small bowl.
- Immerse a cotton ball in the solution, then remove it.
- Tilt your head so that the ear you want to treat is facing upwards.
- Use the cotton ball to apply a small amount of the solution into the opening of the ear.
- After four to five minutes, tilt your head back the other way and use a cloth to catch the liquid as it is dispelled from the ear.
- Dab clean with a cloth or tissue.
5. Baby Oil or Glycerin (Mineral Oil)
If you have either of these products lying around your house, they are great for softening up your excessive ear wax as well:
- Use a dropper or the help of friends and family to put three drops of oil into your ear while it is facing upwards.
- Place a cotton ball over the ear opening to help the oil stay in your ear.
- After around ten minutes, remove the cotton ball and allow the oil to drain onto a cloth or tissue.
- Wipe away any excess soft wax.
What To Do If Your Problems Persist
If your ear continues to feel uncomfortable after the application of these natural remedies and/or over-the-counter solutions available from the pharmacy, you will need to book an appointment with your doctor or an Ear, Nose and Throat Consultant. You should always consult a medic if you have severe ear ache, large amounts of fluid flowing, severe hearing loss, dizziness, fever and vomiting. Your ears are important, please look after them!
Images by Deposit Photos and Pixabay.
 Go to BabaMail


