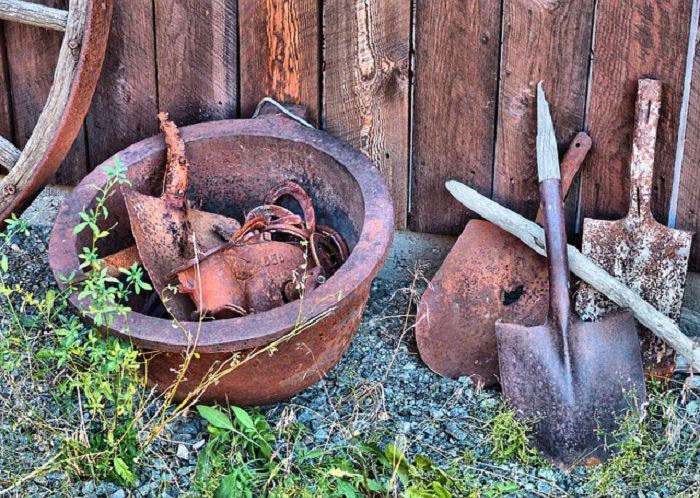
Unless you want your belongings to have an 'antique' appearance, then rust is an annoyance we can all live without. Unfortunately, it is inevitable that most of our metal objects including tools, kitchen utensils, and decorative garden objects will fall foul of this common problem over time, costing us money and causing us irritation. But fear not, there are a number of home remedies you can use to banish rust from your precious items, and they are all cheap, easy and toxin-free. 
What Is Rust?
Rust is the common name for 'iron oxide', which forms on iron (or iron alloys like steel) when they are exposed to moisture and oxygen over a prolonged period of time. It develops when oxygen mixes with the metal's atoms, creating an entirely new compound which weakens the chemical bonds of the metal itself.
The main trigger for this process is water, which penetrates microscopic cracks in the metal's surface and reacts with other elements to form acids. These acids speed up the oxidation process and cause more of the metal to become exposed. When it forms, rust is flaky and provides little protection for the metal beneath, causing it to degenerate. Over time, an object left exposed to the process will eventually disintegrate altogether.
Ways You Can Remove Rust
There are chemicals available that can remove rust but they tend to be expensive and bad for the environment. You often have to try a few of these products on the same item before discovering one that works, which can add to your expenditure. These natural solutions provide a great, cheap and environmentally friendly alternative that you can try at home.
A trusty ally against a number of common problems, white vinegar also reacts with rust to dissolve it off the metal. This will take some time, and you will need to soak the object in the vinegar for at least a few hours, before scrubbing it off with a cloth or if the rust is particularly stubborn, a wire brush, sandpaper or equivalent.
Some Tips:
When used together, lime juice and salt can be an effective way of removing rust. First, you will need to sprinkle the salt over the rusted surface so it is completely coated. Next, juice some limes over the top of the item, so that the juice mixes with the salt. Use as much lime juice as you can physically squeeze out of the fruit, and then leave the resulting solution to set on the item for a few hours.
Some Tips:
Like vinegar, baking soda has a multitude of uses around the home and is a useful addition to any kitchen cupboard. To use it against rust, mix it with water until it turns into a thick, spreadable paste. Spread it across the metal using a spatula or even a butter knife. Allow it time to set and leave it for at least a few hours. Scrub it off with a brush, cloth or abrasive.
Tip:
A more unexpected warrior against rust is the humble potato. They contain oxalic acid which can dissolve rust, but you should mix it with soapy water for best results - the chemical reaction between the two will remove rust easily. Simply cut a potato in half and layer a liberal amount of soap along the cut surface. Take a firm grip of the potato and rub it vigorously along the surface of the rusted item, stopping to add more soap when necessary. Rinse the object when you have finished and then dry it thoroughly.
Some Tips:
The Key to Preventing Rust
As ever, prevention is better than cure, and these steps can help stop rust from developing in the first place:
1. Keep metal objects dry: As water is the chief catalyst of the oxidation process, try to eliminate it. Of course, metal objects will get wet from time to time when you use them or clean them, but always dry them thoroughly and store them in a cool, dry place.
2. Use a Primer: When you paint metal, use a primer to help the paint attach firmly. This will help lock out unwanted moisture. Use a spray on primer on smooth metals, and a 'filler' primer on rough surfaces to ensure you fill any cracks and pockets.
3. Apply Solid Coats of Paint: Primer is a supplement, but paint can be your first barrier to moisture. You will need to use a good quality paint to produce successful results, and seal the paint with a clear top coat to add another layer of defense.