What exactly is upcycling?
When you upcycle something, you repurpose an old item - be it a glass jar or an old chair - and turn it into something else. And one of the best resources for upcycling projects is your closet. The next time you declutter your closet and collect a pile of worn, ripped, and tattered clothing, use this guide to give them a new life.
Upcycling clothes is a really easy and creative pastime, and it’s good for the environment and your wallet. And if you’re not very crafty, no need to worry. Most of these projects require little to no sewing, although we also sprinkled in some more advanced upcycling projects for those who do have access to a sewing machine.
Related article: 7 Things To Do With Old Clothes Besides Throwing Them Out
Trim the garment
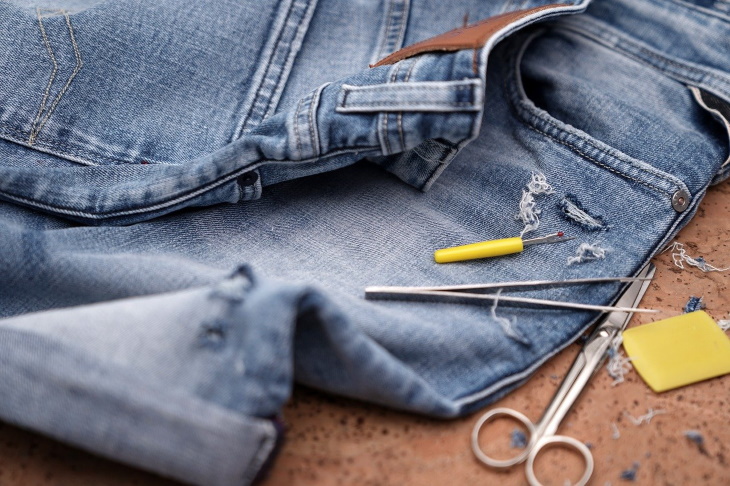
Did your favorite pair of jeans start ripping at the knees? Or does a long T-shirt have an annoying stain or snag at the bottom? Whip out a pair of sharp scissors and trim the garment, turning those jeans into shorts and the T-shirt into a crop top.
We recommend trimming or mapping out the line first and washing the garment after cutting to see how it will look. From there, you can take advantage of the fact that raw hems are in fashion and leave the garment as is. Alternatively, you can either fold the edges up and secure them on the sides with a few short vertical stitches for that rolled-up hem look OR take a needle and thread and hem the garment entirely.
Conceal imperfections with embroidery
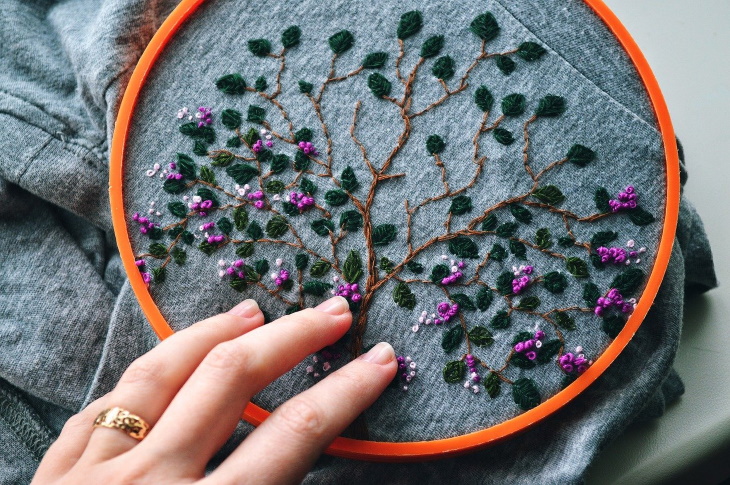
Stains, snags, small holes, and discoloration can be cleverly repaired with embroidery. But to be honest, I sometimes embroider articles of clothing from which I got bored. T-shirts, flannel shirts, jeans, and even hats and scarves can be embroidered.
A needle and some colorful thread are all you need. Although there are hundreds and hundreds of video tutorials on YouTube for all types of designs, here’s a sample. The video tutorial below will show you how to embroider 5 simple flower designs from start to finish, perfect for concealing minor stains.
Turn the garment into a chic gift wrap
Wrapping presents is always fun, as it can really put you into that festive mood and atmosphere. The only problem is that single-use wrapping paper is so expensive and wasteful. But we have an alternative that will help you repurpose old garments to create bespoke gift wraps. Try choosing nice fabrics with cute patterns or an elegant shiny texture - these look more festive.
Begin by washing and drying the garment, and then lay it out on the table. After estimating the approximate size you’ll need to cut, carve out a neat square from the fabric. Then gather the edges, pull them up, and tie the fabric into a knot. Decorate with dried leaves or a piece of ribbon to maximize the festive look, and you’re done. How simple is that!
Dye an old garment
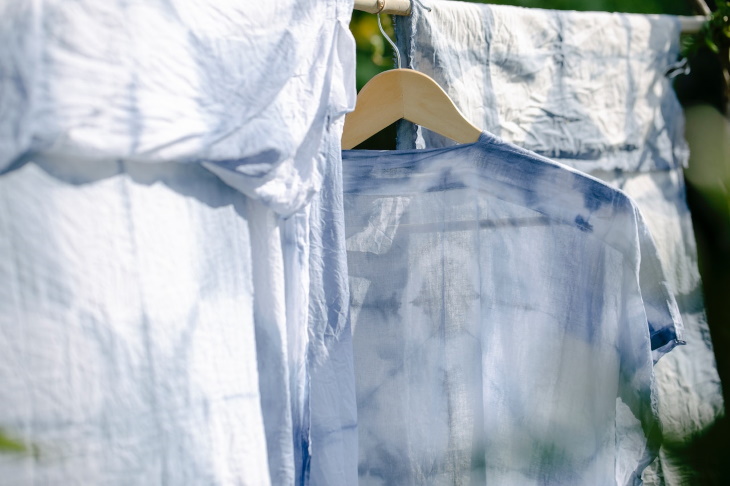
Don’t you hate it when your favorite white linen shirt or white T-shirt turns into a grimy grey or yellow after a wash? I always miss the crisp white color… But what is lost cannot be returned, so let’s make the best of the situation, and give the once-white garment some pizazz. This can easily be done by dyeing it, just make sure to buy fabric-safe dyes.
If you want to give the clothing item an even color, just follow the manufacturer’s instructions. But you can also be a bit more experimental and try your hand at tie-dyeing. The technique involves tying the clothing with string and applying the dye strategically to achieve different patterns and effects. This makes a super fun family project where everyone walks away with a brand-new colorful T-shirt!
Patch things up - literally
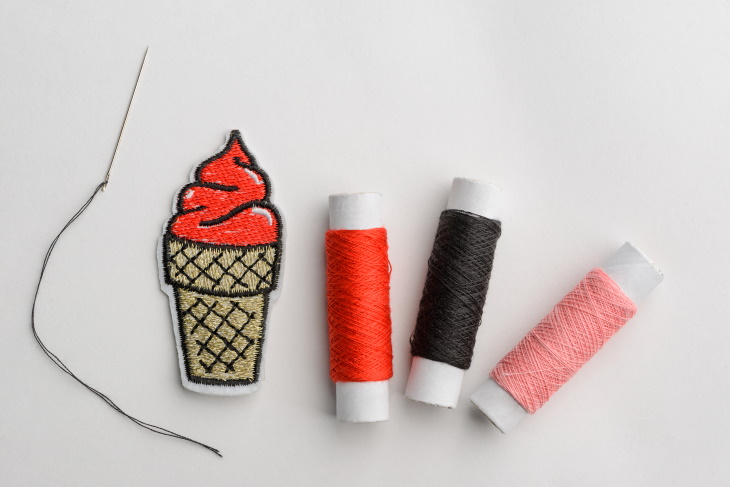
We hear you - not everyone is an embroidery whiz, but we all need to repair a hole or rip in a garment from time to time. If you can find your way with a needle and thread, we’re sure you can manage to attach a patch - just stitch around the perimeter, and you’re done.
In fact, so-called iron-on patches don’t even require that - they have an adhesive back that heats up and sticks to the garment when you iron it. If you don’t like visibly sewn-on patches and want the patch to look more natural and intentional, choose one with a similar fabric, color, and pattern to the original garment.
Transform anything into a bandana or scrunchie
If you or a friend could use a new scrunchie or gym bandana, these are among the easiest sewing projects to start. Making a headband is as simple as cutting the fabric of an old T-shirt into a 22-inch-long strip, folding it lengthwise and stitching the edges together, and then stitching together the edges to make it into a circle.
Making a scrunchie requires a little more prowess, but it’s still considered one of the easiest sewing projects. The video below gives a wonderfully thorough step-by-step explanation of the entire process.
Clean your house with old T-shirts
Even the dirtiest most unwearable cotton garment can be “promoted” into a new role - the house cleaning cloth. Just chop the old T-shirt up into squares and use each square as a kitchen towel or to clean the house. When the cloth gets dirty, run it through the wash as usual and continue using it again and again.
I personally don’t like the appearance of a raw hem on my kitchen towels, so I usually put two pieces of fabric together and hem the edges, but this is totally optional.
Transform an old tie into a case for glasses
Ties go in and out of fashion all of the time, and chances are that you have quite a few of them hanging around that you haven’t worn for years. Luckily, there’s a great use for these fellas too. You can easily turn an old tie into a handy case that can be used to hold your glasses, smartphone, or loose change - you name it. This DIY project only takes 10-15 minutes, and the results are so neat. Just follow the video instructions.
Donate your old clothes to pets
Many cats love everything fluffy and soft, so you can’t possibly find a better blanket for their cat bed than your old sweater or fleece sweatshirt.
And dogs are even less picky than that - any old chewable fabric will work as a blanket. If you’re feeling extra, you can also cut an old garment into strips and braid the strips together. Finally, tie the ends of the braid into knots, and you’ll have the perfect tug-of-war toy for your dog. Easy-peasy!
Make your own placemat or rag rug - no special equipment is needed
Rag rugs and placemats use the same technique of tying long strips of fabric in a spiral fashion. The difference is merely in scale, with the rugs being, obviously, much larger than the placemat. You can play around with different textures and fabric colors - from smooth satin to denim and from old shirts to pillowcases or bed linens. The video below outlines the basic technique and lists all you need to make a cute placemat for your kitchen or potted plants.
Make a quilt with old fabric scraps
We won’t get into the details of quilting, as this is an entire art form with so many techniques. But we would be remiss if we hadn’t mentioned that you can reuse old clothes in your quilting projects. Just match up the colors and patterns that would look nice together and then stitch them together.
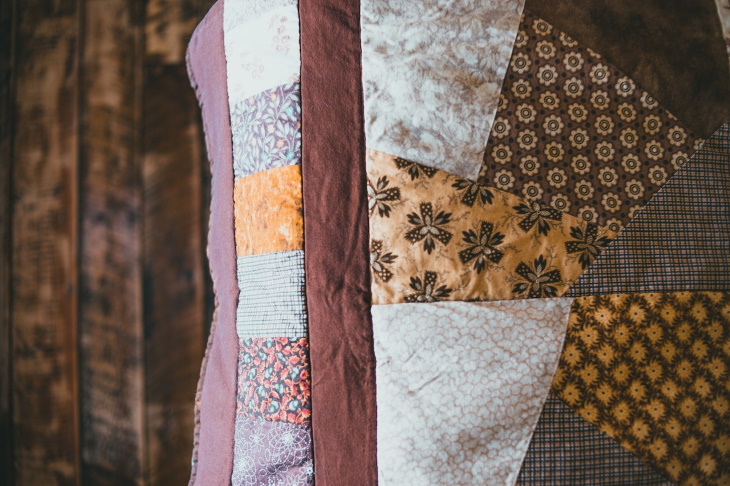
And remember, your first quilting project doesn’t have to be grand. Start with small quilted kitchen towels or seat covers before quilting big blankets or pillows.
Turn an old shirt or T-shirt into a tote bag
Going to the grocery store without a reusable bag? Instead of buying those expensive canvas bags, sew your own eco-friendly shopping bag from an old T-shirt and pillowcase. You can also use these tote bags as shoe bags or storage bags. Basically, they will work anywhere you’d want to use a regular plastic bag. This project is a bit more involved than some of the others we mentioned here, but it’s worth it, plus this tutorial makes creating your own tote so easy, take a look!
H/T:
RD.com,
DIYcandy.com,
Remake.world


