1. A scrub-free way to tackle oven spills
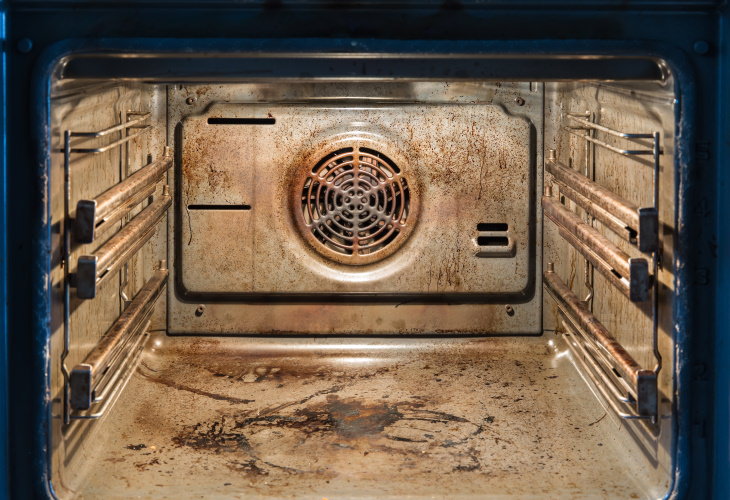
Scrubbing the oven after a boiling-over accident usually takes a lot of time, oven cleaner, and elbow grease. Here’s an easier way to clean up all that mess.
Place an oven-proof pot full of water and heat in the oven at 400°F (200°C) for 20 minutes. As the water starts boiling, it will create steam that will loosen up any burnt-on gunk and grease. Let the oven cool and then wipe the interior of the oven down with a kitchen sponge or paper towel. If any dirt remains here and there, you can repeat the process or go in with an oven cleaner as usual.
This trick works for both old and fresh spills, and it can be easily done while you’re cleaning the rest of the kitchen.
2. Prevent oven spills altogether!
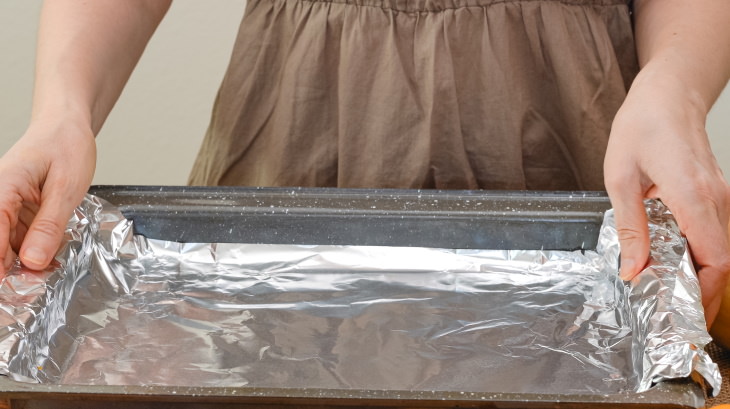
Now that you know how to clean up any spills in the oven and your oven is sparkling clean, we’ll teach you to keep it that way, effortlessly. When you’re using the oven, place an empty baking tray lined with aluminum foil at the bottom of the oven. It will catch any drips and protect the interior of the oven from dirt and grime.
If a baking accident does occur, all you’ll need to do is replace the foil with a fresh sheet and toss the old one. As easy as that!
3. Skip the ironing
Ironing isn’t really necessary for most clothes. If you slow down the spin speed of your washing machine to 800 rpm or less, it will reduce creasing dramatically while also protecting your washing machine from damage.
In addition, instead of folding freshly dried clothing, give them a good shake and store them on a hanger. You’ll save lots of time you would have otherwise spent on ironing. This trick works great for all clothes that wrinkle easily: shirts, slacks, T-shirts, and dresses.
4. Prevent burning out as you clean
Are you always tired after cleaning? That’s only natural if you spend hours cleaning one room, forgetting to drink, eat, or sit down. To prevent physical and mental fatigue and make cleaning a more fast-paced activity, aim to get one job done in 30-minute chunks.
Set the kitchen timer (or a timer on your phone) for half an hour and start speed-cleaning an entire room, declutter your closet, or do all the dusting in that time. Avoid doing anything else at that time. “If you answer the phone, check your emails, watch tv, or do anything else besides paying attention to the job at hand which is cleaning, it’s going to take you far longer than if you cut out all the distractions and focus on the job,” says Maureen Campaiola, a professional cleaner, and author of A Mess Free Life blog.
When the 30 minutes have elapsed, you can take a short break, check your phone, get a quick bite, and then proceed for another half an hour of cleaning.
5. Prepare the room for vacuuming
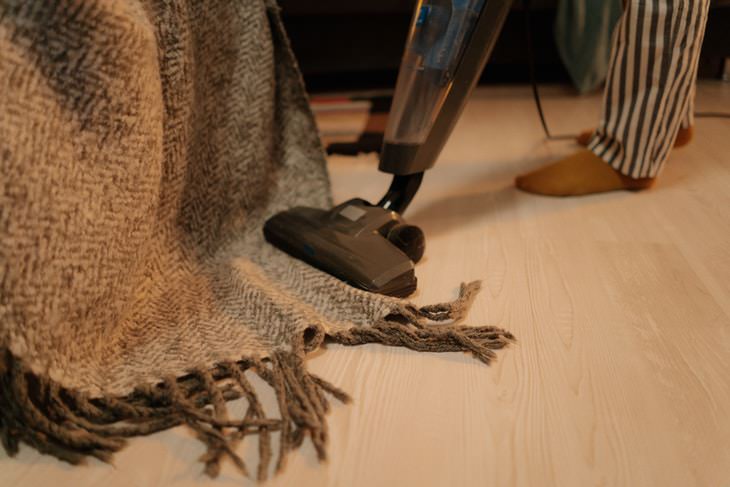
Before you start vacuuming a room, pick up any small loose items from the floor: area rugs, blankets, baskets, small pieces of furniture like chairs, and poofs. In addition, plug in the vacuum in the middle of the room, so you don’t have to plug it in and out several times. All this will help you move through the entire room in one go, which guarantees much faster vacuuming and better results.
6. You’re probably cleaning your curtains too much
Do you spend lots of time and money taking your curtains to the dry cleaners every few weeks? Or maybe you’re just washing them yourself. Whatever the case may be, taking the curtains down and putting them back up is a chore and a half on its own. In reality, though, you don’t need to wash your curtains more than a few times each year.
In the meantime, all you have to do is to dust them once a month using your vacuum cleaner with the dusting or upholstery attachment (alternatively, use a feather duster). No need to take down the curtains, simply move the vacuum across the curtains, focusing on hems and seams (the place where the most dust gathers). Prevent sucking the curtain into the vacuum by holding the curtains taut with one hand.
7. Organize your linen closet
Does your linen closet perpetually look messy? If you don’t group matching sets of bedding, a cluttered and untidy linen closet is practically unavoidable. The easiest way to organize your bedlinens is by folding the pillow slips and sheet inside the matching duvet cover.
The next time you’ll need a fresh set of bedlinens, all you have to do is pull out the entire set - no rummaging for the matching bed sheet and pillowcase needed.
8. Give your bath and shower walls a quick wipe-down
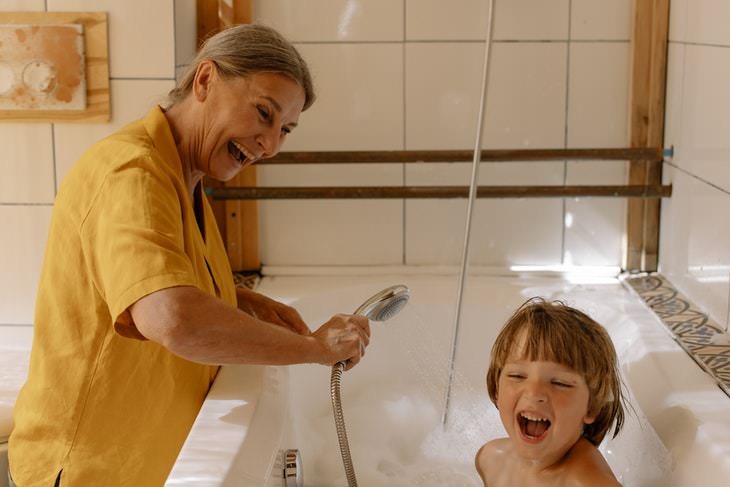
Water buildup and soap scum tend to accumulate in your bath or shower during the week, especially if you live in an area with hard water. But you can prevent all that buildup and only need to deep clean your shower or bath once every 2 weeks with one simple rule. Ask everyone to rinse and wipe down the bath and shower walls down with a cloth after every use.
It only takes a minute, so in our books, it absolutely beats an hour of scrubbing every week.
9. Store things in closed shelving units and boxes
Spend half of your weekly cleaning on dusting alone? Chances are, that’s because you have lots of trinkets and items stored out in the open where they’re bound to catch ALL the dust.
Instead, we recommend that you store small appliances, kitchenware, cosmetics, books, or anything else you don’t use daily in a closed shelving unit, drawer, or cabinet, and keep the work surfaces clear of all that clutter. This makes dusting a one-minute job, as you don’t have to lift, dust, and organize all those small items while dusting. Bonus points for a more tidy-looking and spacious home!
10. Let your appliances do the work
Most homes are equipped with plenty of cleaning appliances, and we tend to underutilize many of them. For example:
- Use your washing machine to clean car mats, shower curtains, and even silicone kitchen utensils. There are so many items that can be cleaned in the washing machine. See our article titled 10 Surprising Items You Can Clean in the Washing Machine for some ideas.
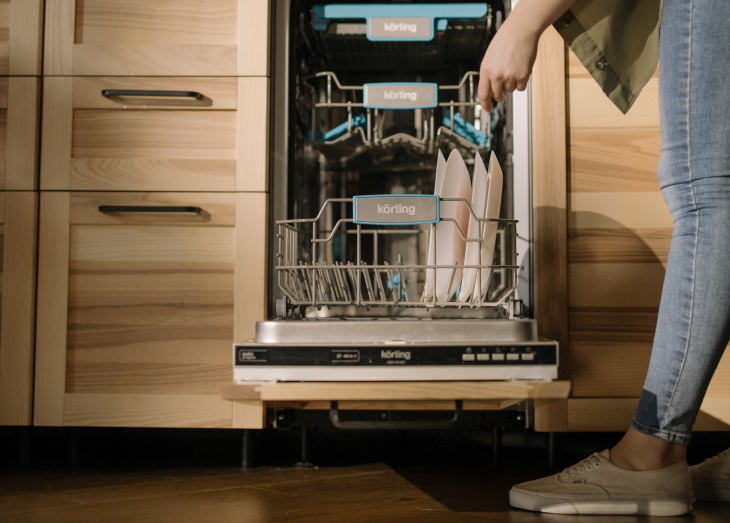
- The dishwasher can also be used to clean sports equipment, showerheads, flip flops, and many other unexpected things. Read 10 Little-Known Uses For Your Dishwasher for more ideas.
- Make your blender clean itself. After using the blender, fill with warm water and a few drops of dish soap and turn it on. Now empty the blender and rinse thoroughly with more warm water. That’s it!
Share these time-saving tips with family and friends!

