1. Watch out for air leaks and drafts
Drafts and air leaks make your utility bills skyrocket at any time of the year. In addition, they can affect your home’s integrity. Without proper insulation, your home is susceptible to other problems, such as peeling paint and mold growth. More on that later.
Winter is the perfect time to find any gaps in insulation because the cold air makes a draft much easier to catch. Some of the less obvious places to check are light fixtures, power outlets, and light switches.
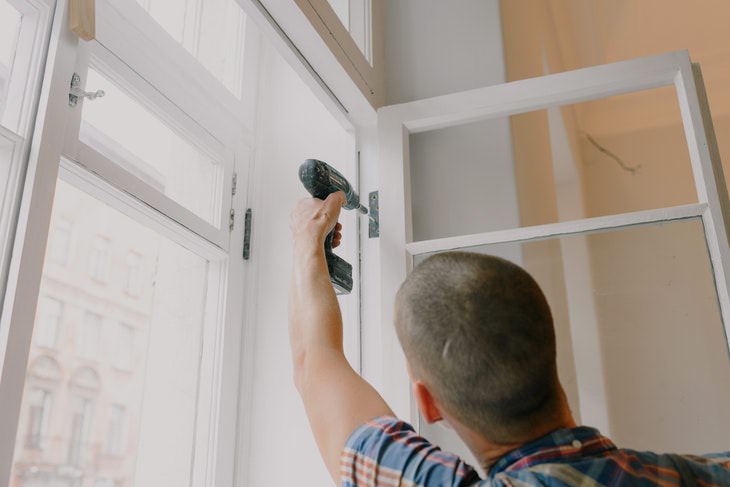
But don’t forget to examine all the windows and doors as well. Open and close them and check if there are any visible gaps or cold air passing through. If that is the case, you need to refresh the weatherstripping or caulk visible gaps.
2. Don’t let ice dams form on the roof
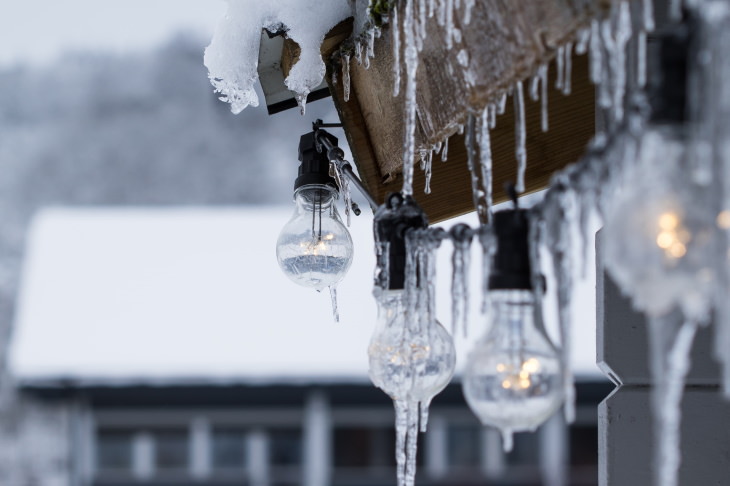
When the temperature drops to freezing, ice dams can appear on the edge of the roof. If this happens at your home, there’s most likely an air leak on your roof or attic.
Ice dams form when heat leaks through the attic and melts some of the snow on the roof. But when temperatures drop at night or when the melted water reaches the eaves of the roof, it freezes again. The resulting dam prevents meltwater from draining, and it can leak into the roof, potentially damaging the insulation, ceilings, and walls.
Adequate insulation and ventilation will not let hot air escape through the roof, hence preventing ice dams as well. Therefore, caulking any air leaks is the best way to deal with ice dams. A word of caution: don’t break ice dams manually. This can damage the roof. Either wait for them to melt away on their own, or use calcium chloride pucks to melt the ice chemically.
3. Examine the insulation
Here’s another chore you can do while you’re in the attic. We stressed the importance of proper insulation in the previous point, so we trust that you already have that installed under your roof. If that’s the case, we recommend that you check the attic insulation every winter for unwanted tenants - pests and wild animals.
The warm, dry, and soft insulation makes a cozy winter hideaway for animals like mice and bats. But these animals can also damage your attic and other parts of your home, so it’s best to bid these surprise guests a fond farewell.
4. Switch the spin direction of ceiling fans
Few people are aware that you can use a ceiling fan all year. Running the fan in the winter can be beneficial to send warm air from the ceiling back down where all the people are. To accomplish this effect, you will need to switch the spin direction so that the fan blades run clockwise.
This can easily be done by sliding the switch on the fan in the opposite direction. When the weather gets warm again, manipulate the fan to spin counterclockwise - this will make cool air circulate across the room.
5. Prevent peeling paint
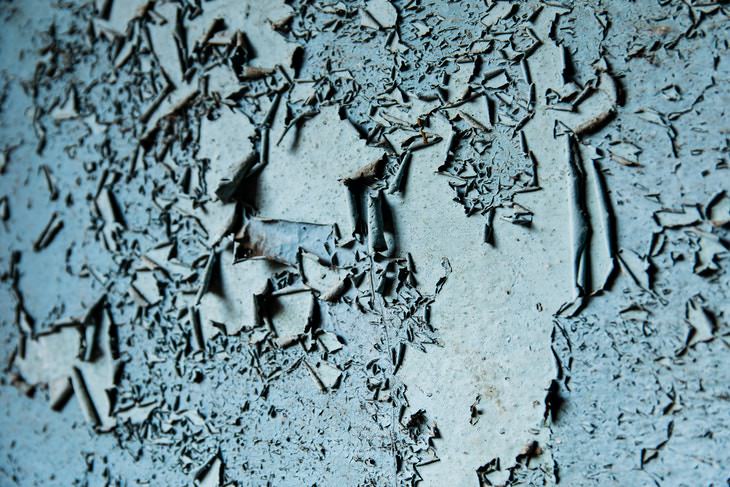
Peeling and cracking paint is one of the most widespread interior issues during the cold months. This is both unsightly and disheartening, as all of the hard work and money you spent to refresh the walls just went down the drain. In most cases, this is either a sign that the wall hasn’t been properly primed before painting, an indication of a leaky wall due to inadequate insulation, or a symptom of poor ventilation. Having all of these 3 components in check will prevent peeling paint in the future.
If none of these rings true to you and you live in a place with sub-zero temperatures, the paint itself could be to blame. For this reason, it’s best to purchase paint formulated to withstand cold weather conditions, otherwise, you may end up having to repaint the walls every spring.
6. Clean dryer vent and filter thoroughly
The dryer always gets more use during the colder months, but few of us take the time to maintain it. As you may or may not know, however, a neglected tumble dryer can become a fire hazard. In fact, more than 15,000 fires linked to tumble dryers occur every year. According to the National Fire Protection Association, “the leading cause of home clothes dryer and washer fires was failure to clean.”
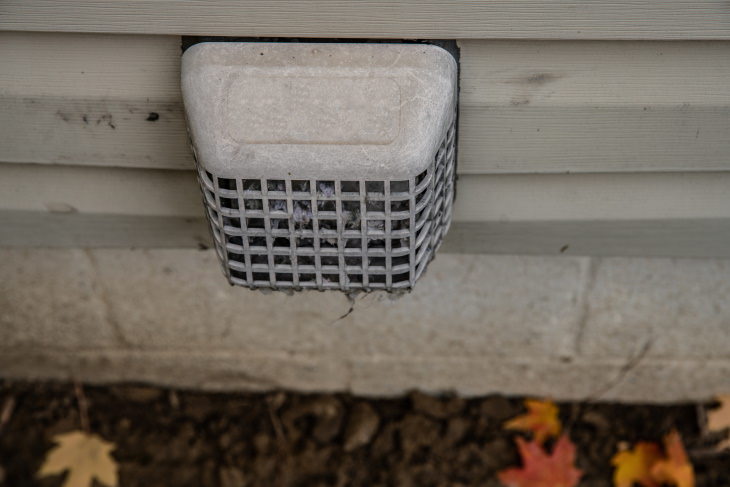
So what can you do to reduce your risk? Clean the dryer’s lint filter regularly is step one. Occasionally, you can also use a vacuum cleaner to remove lint from the lint trap too. And last but not least, clean the lint vent at the back of the dryer. To do so, pull the vent so that you can access it and use a dryer cleaning brush to remove any lint from the pipe. Finish by reconnecting the vent and running the dryer for 15 minutes to clear away any lint that could still be stuck in the vent.
7. Make provisions for a winter storm
As we’ve seen time and time again in the news, a winter storm often leads to a power outage. Although you never know when such a storm may strike, you can always be prepared. To do so, collect a survival kit that includes drinking water, canned or other non-perishable foods, batteries and chargers, flashlights, and a first-aid kit. A solar-powered pocket radio can also be handy, as it will help you hear the news and weather forecast in case there’s no cell reception.
If there’s a heavy snowstorm on the way, keep snow shovels and gloves near the entrance. After a heavy snowfall, it’s important to brush away snow from tree branches with a broom - otherwise, they can break off and damage your property or injure someone. For more practical tips during a power outage, look here - Emergency Tips: What To Do When The Power Goes Out.
8. Keep pipes from freezing
Freezing temperatures pose a danger to your plumbing. Outside pipes are particularly susceptible to freeze or even burst on especially cold nights and flood your home. To prevent this disaster from happening, you must keep the pipes warm and insulated.
You can use heat tape on especially vulnerable pipes, but for most areas of your home keeping your home warm and opening all the cabinets that conceal plumbing to expose them to warm air is key. To see why this works, read the article Protect Your Pipes in Cold Weather.
If you expect extremely low temperatures, you may also consider letting all faucets trickle with hot and cold water. "Moving water will not freeze and while there is some added cost to running the water, it's a lot cheaper than burst pipes," said Lou Mandfredini, a home expert to Martha Stewart. You can collect the water and use it for cleaning or other household tasks.
9. Bleed the radiators
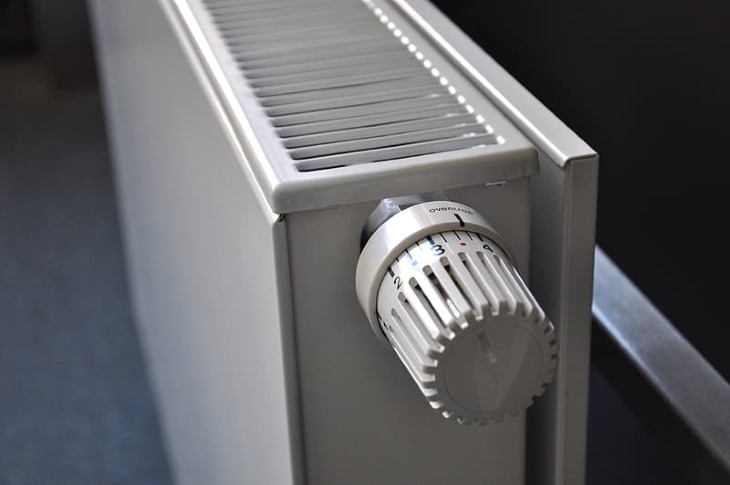
Do the radiators in your central heating refuse to heat up completely or feel warm only at the bottom? Or maybe you hear some weird gurgling noises? If so, then it’s probably time to get rid of the air pockets that accumulated in your central heating system - a process known as bleeding the radiator.
If you want your radiators to work at maximum capacity and get the most out of the utility bills, you’ll need to learn how to do this every winter. Luckily, it’s pretty easy. Just follow these steps:
1. Turn off the central heating and let all the radiators cool down completely.
2. You will bleed one radiator at a time. Begin with the radiator furthest to the boiler.
3. Place a tray under the radiator’s bleed valve. Shut off the radiator and open the bleed valve.
4. Release all the air from the radiator. Close the valve when water starts coming from the valve.
5. Repeat the same process for all the remaining radiators.
6. When you’re done, turn on the central heating and check if the radiators are now heating up properly.
10. Control moisture to prevent mold growth
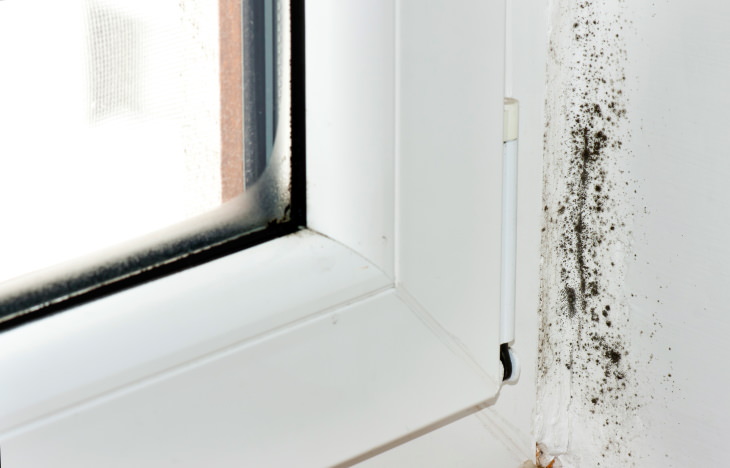
In the winter months, your home could turn into a breeding ground for mold. This happens due to a lack of ventilation that creates condensation on the walls and turns them damp. Leaks could be to blame for mold growth too, in which case you’ll need to seal the leaks to sever the source of mold growth and only then treat the affected area.
When poor air circulation is to blame for the mold problem, try opening windows and soaking up any condensation. For more tips on mold prevention and removal, don’t miss this article How to Fight and Prevent Mold in the Bathroom.
Share these tips with other homeowners!

