

Scotch Eggs (Makes 6)
Ingredients
• 6 hard-boiled eggs, shells removed
• 18 ounces (500 grams) ground pork (pork mince)
• 18 ounces (500 grams) ground beef (beef mince)
• 1 small onion, finely grated
• 1 clove garlic, crushed
• 1 teaspoon mild mustard
• 2 tablespoons freshly-chopped parsley
• Salt and pepper to taste
• 2 cups fresh breadcrumbs
• 3 eggs, lightly beaten
• 1 cup all-purpose (plain) flour
• Vegetable oil, for deep frying
Method
1. Bring a pan of salted water to the boil, then add 6 eggs and simmer for 7 minutes and 30 seconds exactly. Scoop out, and place in a bowl of iced water, cracking the shells a little bit (making it easier to peel later on). Let them cool, then peel and set aside.
2. Place the ground pork and beef, vegetables, herbs and spices in a medium bowl, and mix to combine. Then divide into 6 equal balls. Squash one of the balls on a piece of plastic wrap until it is as flat as possible. One at a time, lightly flour each cooked egg, then use the plastic wrap to help roll the mixture around the egg to completely encase it. Repeat with the remaining eggs.
3. Beat 3 eggs lightly, and place on a plate. Put the flour and breadcrumbs on two separate plates. Roll the encased eggs in the flour, then the beaten egg, and finally the breadcrumbs.
4. To cook the eggs, heat the oil until it reaches roughly 160°C (if some breadcrumbs turn golden after 10 seconds in the oil, you’re good to go). Lower the eggs into the oil, and cook for 8-10 minutes until golden and crispy. Drain on some kitchen paper, leave to cool, then enjoy.
Source: tiphero and bbcgoodfood
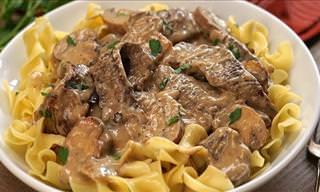
This Beef Stroganoff is the Ultimate Comfort Food!
This recipe will show you how to make the ultimate comfort food - beef stroganoff.

These British Desserts Look Fancy, But Are Easy to Make!
American pie sure is delicious, but when it comes to baking incredibly tasty desserts, the Brits come well out on top. Here are 4 delicious British desserts.

Bring Moroccan Cuisine to Your Home With This Lamb Tagine
This is how you can make yourself a tasty lamb tagine from the comfort of your own home.

These Cornish Pasties Are So Good You'll Want Two!
Here's how you can make yourself some delicious Cornish pasties at home.
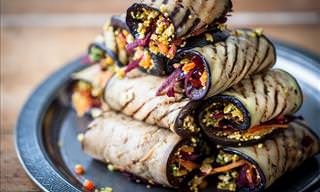
These Grilled Aubergine Rolls Make for a Tasty Lunch!
This recipe will show you how to make some delicious aubergine rolls.
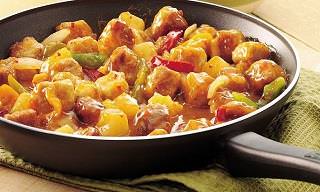
Delicious Sweet and Sour Pork That'll Melt in Your Mouth
This recipe will show you how to make a delicious sweet and sour pork that will leave your taste buds tingling.

Four Great Tips for Hosting Guests With Food Allergies
The holiday season is a time for friends, family, and loved ones to come together under one roof and share meals. With so many gatherings during this festive period, there's a good chance you'll be hosting someone with food allergies at your table.
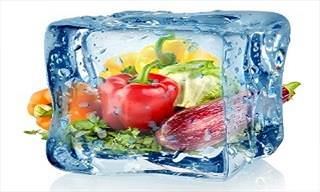
This Is How Long You Can Freeze These Foods For!
We all know that freezing food prevents it from rotting. Here's a complete guide to how long you can let different foods stay frozen until they go bad!

You'll Think Twice About Foods You Buy After Reading This
Did you know that these things go on in the food industry? We bet you'll be surprised. Here are 10 rather revolting food practices you should know about.
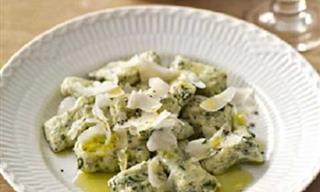
2 Authentic and Hearty Italian Recipes You've Got To Try
These are our favorite ways to prepare, savor and enjoy the best of Italian food.

These Peppers Are So Hot, They’ll Blow Your Mind!
Spice is great for every diet and these peppers from all over are perfect for making any dish the searing hot with only a small amount.
 8:30
8:30
Simple Solutions to 6 Beginners Salad Mistakes
Do you enjoy eating salad, or do you swallow it like a pill? This guide goes through 6 salad mistakes and delicious solutions to every one of them!
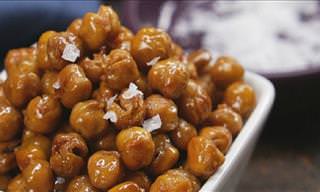
These Snacks Are Both Delicious and Healthy! Try Them Out!
People associate snacking with being unhealthy, but the following 6 snacks taste great and are also good for you.

Add These Tasty Protein Shakes to Your Daily Routine!
Here are 27 delicious and nutritious protein shake recipes that you can add to your daily routine.

The Healthy Carrot and Nut Muffins Of Your Dreams
Are you looking for a healthy treat, but don't want to compromise good nutrition habits? This easy carrot muffin recipe is just what you need

Make These Dietary Swaps For A Healthier Life
Did you know that there are tons of dietary swaps that you can make to make yourself healthier without starving to death? Here are 25 of them.
 6:10
6:10
This Crispy Baked Cauliflower Is a Vegetarian’s Delight!
Have you ever had a crispy roasted cauliflower before? Follow this recipe to make this delightful dish.
 8:07
8:07
How to Make the FLUFFIEST Pancakes You've Ever Tasted
This Japanese souffle pancake recipe achieves the impossible - it makes pancake even more delicious. Trust us, these are the fluffiest pancakes in existence!
 3:34
3:34
Start the Day Differently With These Delicious Spicy Eggs
Tired of the same old scrambled eggs every morning? Try Gordon Ramsay's delicious recipe for spicy Mexican eggs.
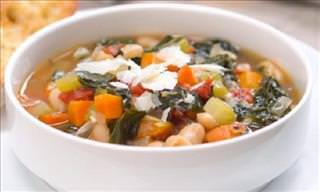
This Tasty Soup Will Become One of Your Favorite Dishes!
This Tuscan white bean & kale soup is healthy as well as hearty. Here's how you can make it.

This Guide is Perfect For Starting Your Wine Education
This guide is your one-stop shop for an in-depth introduction to the world of wine. In the world, there are 16 core wines. Learn all about them in this guide.

14 Dreamy Dessert Articles for Every Taste and Preference
There’s always room for dessert, and the more options, the better. This comprehensive collection of articles has dozens of dessert ideas

Korean Fried Chicken: This is the Ultimate Fried Food!
If you like fried chicken you will simply love this Korean take on our favorite fried food. What better way to spice up your fried chicken that by learning this!

This Cauliflower Casserole is Comfort Food at its Best
Learn how to make your next favorite casserole recipe, using cauliflower and cheese.
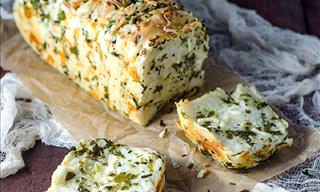
Cure Winter Ills With 4 Delicious Garlic and Onion Recipes!
For many years onions and garlic have been used for various medical needs and now you can too with these healthy and tasty garlic and onion recipes!

Got Overripe Bananas? Make Yourself These Tasty Snacks!
Don’t throw ripe bananas away or leave them for the fruit flies! They are capable of being more than a grab-and-go snack. So, get creative, mash them up, and turn them into something delicious.

Consuming Too Much of These Healthy Foods Can Be Deadly
While they may appear to be healthy on the surface, you may be surprised to discover just how fatal these 6 foods can be.

A Twist on Traditional Meals: 8 Delicious Savory Muffins
For a fun and new way to serve up some hearty and delicious grub, try turn a traditional recipe into a muffin! From breakfast ideas, to pasta, main courses and appetizers, here are 8 fantastic savory muffin ideas you can serve.
 2:26
2:26
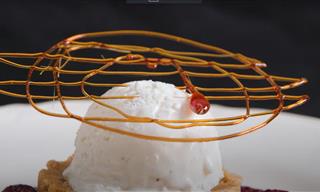
How to Make Beautiful Caramel Decorations for Desserts
Caramel decorations for deserts are fairly easy to make, and they add a level of sophistication to any dessert!

Waste Not Want Not: How to Use the Liquid from Canned Goods
Most people hurry to drain the liquid from cans into the drain, but you should know the 5 ways to not waste a single drop of this liquid gold!
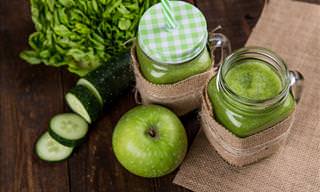
13 Delicious Juice Recipes to Detox Your Body With...
Follow this guide to learn how to make 13 delicious juices that'll help you detoxify your body.
This Drink Will Freshen Up Your Summer and Your Health
Beyond its wonderful taste, the ingredients in this unique smoothie will fill you with energy, fight various diseases, and make you feel great even on the hottest days.

This Tasty Sorbet Only Requires One Ingredient to Make!
This delicious sorbet only requires one ingredient! Learn how to make it yourself here.

Learn Your Fish: 9 Common Types and How To Prepare Them
Do you think that choosing and cooking fish is a hassle? Let us change your mind by teaching you to distinguish between 9 fish varieties
Tea Collection: Health Benefits, Uses and Recipes!
You'll find here no less than 11 guides to tea, from terrific health benefits you didn't know about to using it around the house for excellent life hacks.
Say Goodbye to Bland Meals with This Honey Garlic Shrimp
This recipe will show you how to make delicious honey garlic shrimp.
 3:03
3:03
Here Are the Very Best Ways to Cook Sweet Potatoes
There are numerous different ways of cooking sweet potatoes, but which is the most nutritious? Find out in this informative video.

10 Most Tempting Sweet & Savory Gluten-Free Recipes Around
Whether or not you are gluten-intolerant,these dishes are delicious!
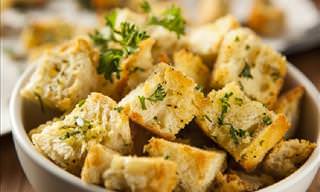
These 4 Delicious Croutons Will Upgrade Every Soup and Salad
Most people like adding croutons to salads and soups for the crunch, and these 4 crouton recipes will seriously upgrade every meal!
 6:56
6:56
5 Quick and Healthy Breakfast Ideas
These are incredibly easy and simple recipes, perfectly designed for those busy mornings when you're rushing out the door.
 9:23
9:23
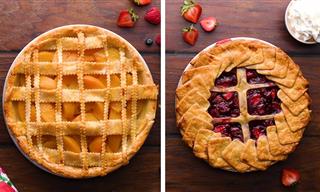
12 Pie Tricks Any Baker Should Try
Whether you’re a beginner or a seasoned baker, these useful tricks and hacks are sure to take your pie to the next level!
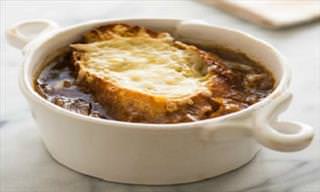
A French Onion Soup to Warm Even the Coldest of Nights
This recipe will show you how to make a delicious and hearty French onion soup that'll warm even the coldest of days.
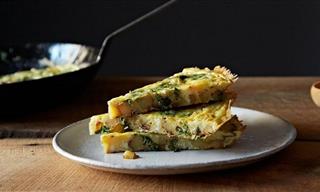
Three Terrific Recipes for Tasty and Healthy Root Vegetables
The following three recipes will teach you how to utilize lesser-known parts of a variety of wonderful root vegetables, earning you plenty of compliments and praise.

31 Quick and Easy Snacks That Have Less Than 100 Calories Each!
The following tasty and simple-to-make healthy snacks are just what you need to treat your cravings without ever tipping the 100 calorie line.
 14:10
14:10
Recipe: How to Make Japanese Curry Udon Noodles
Curry udon is a spicy, mouth-watering noodle soup that's famous across Japan. Learn how to prepare this mouth-watering dish.
TEN Tasty Alternatives to Salt for Your Cooking Inspiration
Reduce your salt consumption by learning about the alternative ways to add flavor to your food, in the most sensational ways possible.
4 Tasty Mini Desserts That are Perfect for Thanksgiving!
These 4 recipes will show you how to make some extremely tasty desserts for Thanksgiving.
6 Natural Energy Drinks That Are the Boost You Need!
We all need extra energy boosts to help us get through the day, so give yourself the much-needed energy with these 6 natural and healthy homemade drinks!
To enable your Ad-Free Subscription, please fill the fields below
Your subscription was successful, now you can enjoy an ad-free experience!! Note: To make sure you get no ads, please make sure to log in to your account. If you are logged in already, then refresh the page. The subscription can be cancelled at any time.


