We all have at least one family photo album, where we keep the pictures we took years ago to remember happy events or just to record little moments of our lives that we wanted to commemorate. The problem is that the old pictures we took many years ago are starting to fade, crease and in extreme cases, even tear.
To avoid these risks to your beautiful memories, you can give new life to the precious pictures you have taken with a simple and very common item, your smartphone. In most of the smart devices sold today, you can find advanced and high-quality cameras, which together with special apps allow you to take your pictures and get a high-quality digital copy of the photograph, which you can save for years and even send to all your friends and family easily.

So how do you actually go about doing this? You can take a very direct and simple approach to taking photos as they are, but there is a much better way to do this, which we’ll teach you in the following article. We've compiled a number of tips for you to start shooting your photo collections efficiently to ensure you have the highest quality results. So take the photo albums out of the closet, set up your smartphone and learn how to back up your precious photo collections so that you, your children and grandchildren can enjoy them for years to come.
Before you download and install the apps that will allow you to take pictures of your old photos and edit them easily, you should be familiar with the following tips that contribute no less to a result that is as similar to the original as possible.
While you can take pictures of your old photos anywhere, it is best that you set up one dedicated surface to serve as your work area. Make sure the surface is uniform, straight and large enough to accommodate the pictures and other accessories you might want to use.
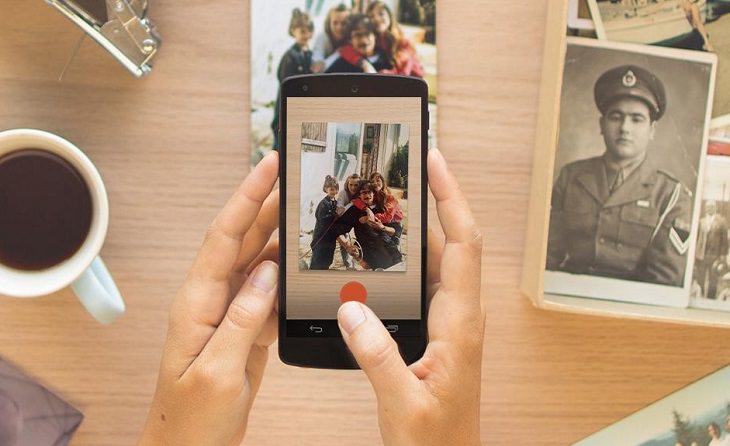
Do you remember the last time you cleaned your smartphone’s camera lens? If the answer to that question is no, you should get to it, especially if you want to take pictures of your old photos from time to time. You won’t necessarily notice the difference when you take regular pictures, but chances are your camera lens is covered with dust and fatty residue that have formed out of contact with your hands. To make sure this dirt and grime doesn’t affect the quality of your re-snapped old picture (which are probably already not in the best condition) take a gentle cloth, the type you’d use to clean glass, for example, and gently clean the lens before you start taking pictures.
To make photography easier, create uniformity and prevent the camera from moving while shooting, you should find a way to place your smartphone on a stand of sorts. Camera blur can severely impair the quality of your photos, and since there is no shortage of mobile phone stands or home-made improvised but efficient solutions, it's a pity you let this hurt your memory preservation.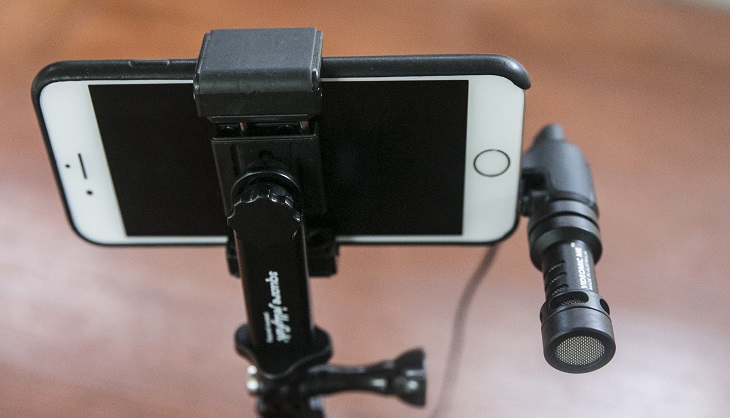
Assuming you've found a permanent work surface and a way to securely dock your smartphone, there's no reason for you to have to re-focus your camera every time you want to take another picture. Perfect focus is an integral part of the tools that allow you to make digital copies of your favorite pictures, and once you’ve found it, there is a way to easily keep it. Once you do this, you can enjoy perfect focus on any photo you take, even if you replace the item you are taking a picture of.
IOS users: Long press on your smartphone or tablet screen while you are in camera mode. Just tapping on the screen will set the focus and a long press will allow you to lock the focus and fix it until it is pressed again. Some versions of the operating system and different devices may have a message at the top or bottom of the screen that alerts you to locking the focus.
Android users: Most Android devices can’t lock the autofocus using regular camera settings, but there are quite a few apps that allow you to do so. You can click here to download the free Camera FV-5 Lite application, one of the tools it offers is the ability to lock the focus of your smartphone's camera lens.
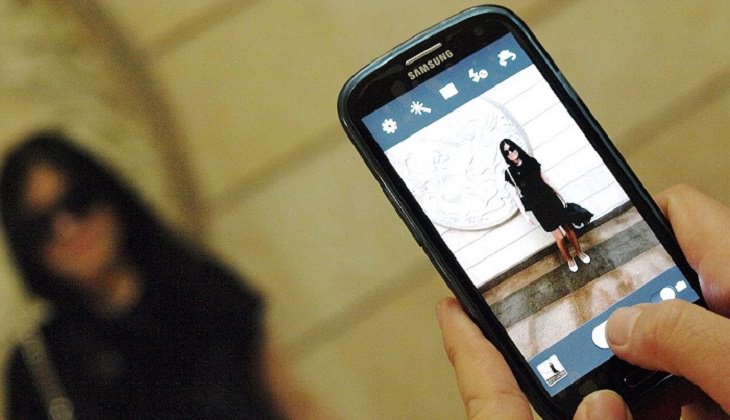
A lot of light and correct lighting are two factors that greatly affect the quality of the pictures we take, and this is true even when it comes to photography with a smartphone and twice as much as when the object you are photographing is an old or even faded picture. So, just before you start photographing your old photos, make sure that the space you’re working in is as well and uniformly lit as possible. Make sure there are no reflections on the old photo and, if possible, avoid using the digital zoom of the camera and simply bring your camera closer to the picture.
In addition to the focus lock app for Android devices that we’ve already spoken about, there are a very wide variety of free tools that will allow you to take pictures and edit photos more easily. Later in the article, we’ll show you the application that is specifically designed for taking old photos, but this does not mean you can’t use other software to edit, upgrade and publish your finished products. Click here to discover and download 6 free and recommended apps for photography and editing on your smartphone.
So now that your environment is ready and you know how to use your device in your preservation project, it's time to introduce you to a highly recommended option among the available tools you can use. There are many apps that focus on photography and scanning of old photos, but Google PhotoScan is considered one of the best and simplest free applications for anyone who wants to transfer all their photos and memories to digital format in the simplest and most convenient way. The application interface is very friendly and is available for Android and IOS users.
Click here to download PhotoScan for Android
Click here to download PhotoScan for IOS devices
The first time you launch the app after installing it, you can watch a short video tutorial showing you how to use it for preserving your old photos. If it seems too short and simple, it's because working with this tool is not much different from taking pictures with your smartphone, which you probably already know how to do. The main difference lies in two main tools that the app offers:
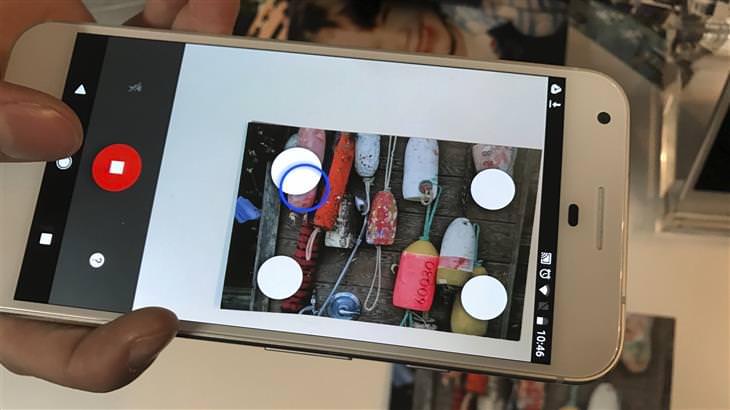
Corner Editor: Once you've placed the picture you wanted on your work area, just take a picture of it using the application. You will then be prompted to move the camera to the 4 corners of the photo, which will appear as white circles on the screen of your mobile device. Then a short information processing will begin and the final image will be saved in the application, you can view it by clicking on the thumbnail image that appears on the bottom left side of the screen. Don’t be alarmed by the image display on your screen when shooting! It may seem distorted and stretched but the final product won’t look that way at all.
