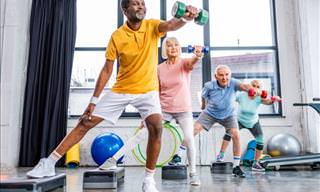
Don't have the energy to go to the gym in the winter cold? Or are you simply looking for an effective workout that will help you strengthen and tone your body while also losing weight? For you, we’ve decided to gather some excellent exercises from a method you may not have heard of before – Callanetics. To give you a hint and show you that you know a bit more about it than you thought, it’s the foundation for the toning and shaping method used by many successful fitness studios in the country. In the following guide, you’ll discover everything you need to know about the Callanetics method, such as what it is and what its benefits are, and of course – 6 great exercises you can do at home without any additional equipment, just you and your body.
What is the Callanetics Method and What Are Its Benefits?
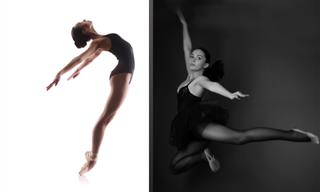
This exercise method was invented in the 1960s with the goal of developing the body and improving the contraction of muscles that support posture. It was created by Callan Pinckney, an American ballet dancer who suffered from knee and back pain that forced her to use a wheelchair. To return to dancing, she developed a method based on controlled and planned activation of the body’s muscles, consisting mainly of gentle movements from the world of ballet – which she knew very well. Beyond helping her, these exercises became popular over the years and form the basis for the toning and shaping method of the Studio C chain that previously operated in the country. Callanetics workouts have several great benefits worth knowing:
They are easy to perform at any age and strengthen the body’s muscles.
They can be done without any equipment or with minimal accessories.
They can be tailored to your body’s muscles.
The risk of injury during these exercises is lower than with other types of workouts.
Above all, they allow you to continue eating normally without dieting or taking supplements – and still reduce your clothing size by two sizes in just a few weeks.
6 Exercises from the Callanetics Method
After explaining a bit about the method and giving you enough reasons to adopt it, here are 6 exercises to get you started, from easy to hard:
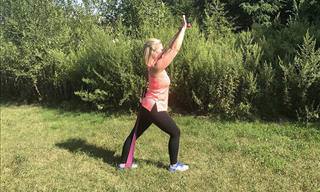
1. Arm Spread
To start, it’s worth opening the workout with a relatively light exercise that doesn’t demand too much from you and will help tone your body in general and your arms in particular.
Stand straight, with your feet parallel to each other and facing forward.
Cross your arms in front of your chest and inhale.
Spread them gently in a circular motion through the sides of your body – from bottom to top.
Once your palms meet above your head – exhale, and at the same time, lower your arms downward in a similar motion, with a slight bend in your back and knees.
Straighten your body and repeat the exercise for 30 seconds.
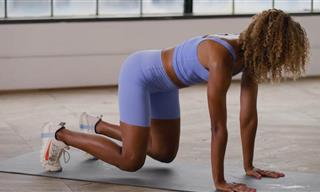
2. Downward Dog Pose
This exercise, which is also a great yoga pose, will help you stretch and flexibilize your back, hamstrings, shoulders, and chest, as well as strengthen your upper body.
Get on your hands, knees, and feet, with your hands shoulder-width apart and knees hip-width apart.
Push off with your toes and lift your hips upward.
Lean your upper body backward and look toward your feet, so your back is in a straight line with your arms, and your body forms an inverted V.
Hold this position for 30 seconds.
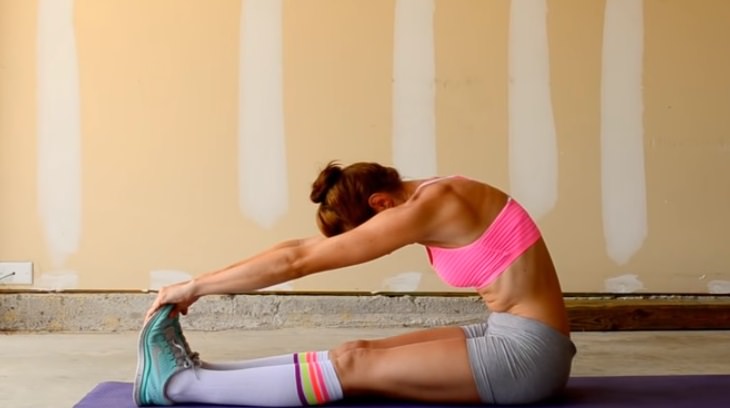
3. Leg Stretch
This simple and wonderful exercise will help you strengthen your back, hips, and leg muscles, and improve your flexibility.
Lie down with straight legs on the floor or an exercise mat.
Lift your upper body and stretch your arms forward while bending your back – until they touch your toes.
Try to touch your knees with your forehead. If you can’t, stay in the previous position.
Hold the position you’re in for 30 seconds.
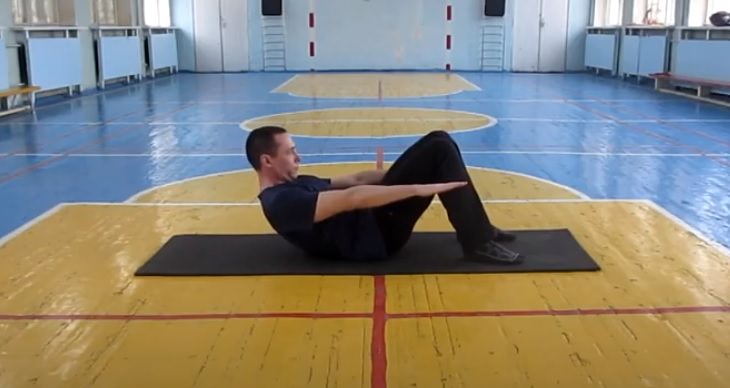
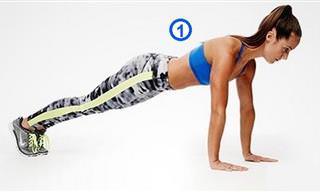
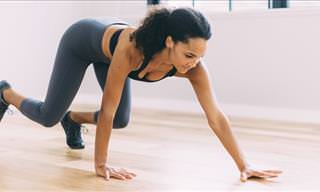
4. Pulsing Crunches
As the name of this exercise suggests, it focuses on strengthening and toning the abdominal area.
Lie on the floor or an exercise mat with your legs bent and hip-width apart, and your arms resting alongside your body, palms facing down.
Slowly lift your head, torso, and arms until you feel a stretch. Ensure your arms rise to shoulder height, staying straight and as parallel to the floor as possible.
Perform small crunches, moving your upper body slightly forward and backward in a continuous motion.
Do the exercise for 30 seconds.
5. Straight Leg Lowers
This excellent exercise will help you strengthen your rectus abdominis muscle, so if you’re aiming for “abs,” you should add it to your workout.
Lie down with straight, close-together legs on the floor or a mat.
Bend your knees and bring your legs toward your chest as much as possible. Place your hands behind your neck, as in crunches.
Slightly bend your head and torso, as in crunches, and straighten your legs toward the ceiling – so they’re perpendicular to your upper body. At the same time, inhale.
Exhale and slowly lower both legs together, keeping them straight and close, until they’re at a 45-degree angle.
Inhale and raise them back up, so they’re perpendicular to the floor.
Repeat the exercise 10 times.
At the end of the exercise, bend your legs and return them to the floor.
Note: If it’s hard to perform the exercise with straight legs, you can bend them slightly.
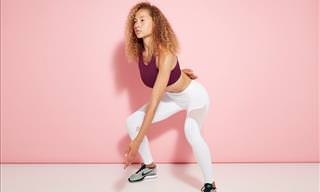
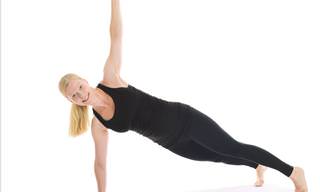
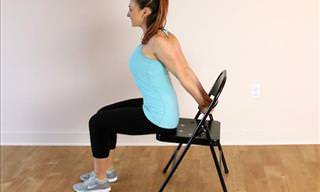
6. Pelvic Rotations
This exercise is slightly more challenging, but it will help you strengthen your pelvic and arm muscles.
Sit on your shins, with your thighs close to them. Keep your back straight and place your arms alongside your body.
Bring your arms to the front of your body in a circular motion – through the sides. When they reach in front of your chest, bend your elbows at 90 degrees and interlace your fingers.
Lift your upper body slightly, about 3 cm above your heels, and keep your arms in the same position.
Move your hips to the right, then in a counterclockwise circular motion – forward, left, and back.
Perform 3 such pelvic rotations, then repeat them to the other side, clockwise.
Subscribe and REMOVE ALL ADS
LOVE our articles but HATE our ads? For only $3.89 per month, enjoy a seamless, ad-free experience that lets you focus on what matters most — enjoying all of our content, uninterrupted. 🔒 100% Secure Payment 📅 Cancel Anytime, No Strings Attached Unlock a cleaner, faster browsing experience today and gain the freedom to navigate without visual clutter.
Ready for a Ad-Free experience? Upgrade now for just $3.89/month!
To enable your Ad-Free Subscription, please fill the fields below
Thank you for your subscription!
Your subscription was successful, now you can enjoy an ad-free experience!! Note: To make sure you get no ads, please make sure to log in to your account. If you are logged in already, then refresh the page. The subscription can be cancelled at any time.
Subscribe
Love Anything to Do With Sports?
Get updates on new posts directly to your inbox!
Login
Login via Email
The new BabaMail app is now available at the app stores.