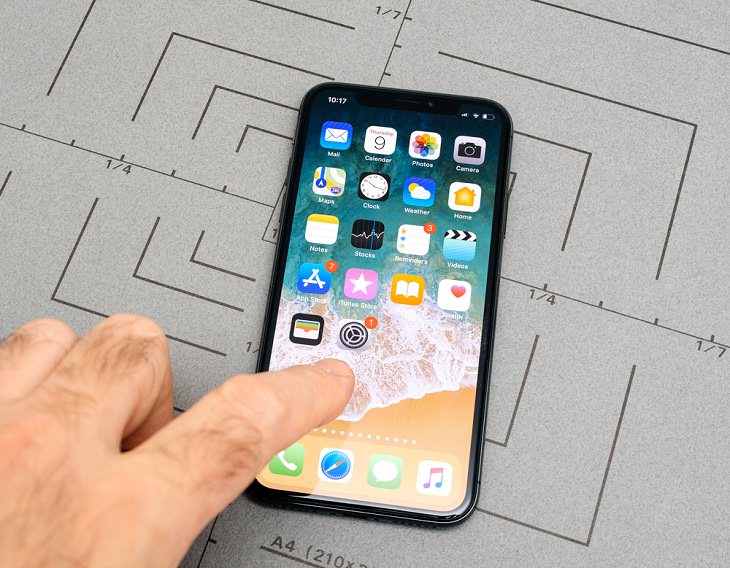
One of the biggest concerns for someone who has just switched from Android to iPhone is the fear of losing all your data. Since they are two distinct operating systems, transferring all your valuable data between the two can often feel complicated. Thankfully, with the help of a free app, you can move most of the data (including contacts, messages, photos, and more) from your old Android phone to the new iPhone without any hassle.
Here, we will show you the step-by-step process of how to make that transfer. Before that, however, you must know which data you can move from Android to iPhone. Unfortunately, you can't transfer everything but here are some of the things you can:
- Contacts
- Message history
- Photos and videos
- Web bookmarks
- Mail accounts
- Calendars
- Free apps (depending on their availability for iOS).
Let’s now take a look at all the steps involved in transferring the data from an Android phone to an iPhone.
See Also: 20 Handy Android & iPhone Hacks and Features To Know About
1. Set up your Android device and iPhone
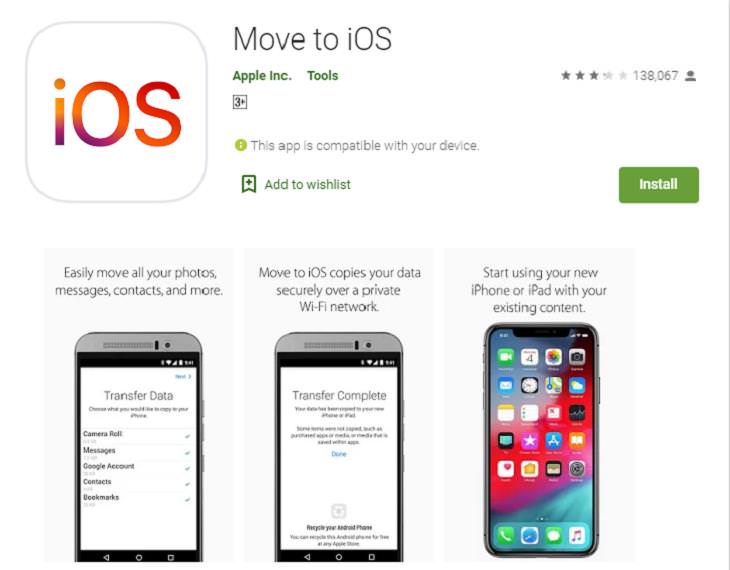
You will first need the Move to iOS app to begin your transfer process. This app works with Android 4.4 (KitKat) or later and iOS 9 or later. So, you will need to check the software on your Android phone and iPhone to ensure they are compatible.
Once you have checked the compatibility, the next step is to make sure you have sufficient storage space on your iPhone for all the data you will be transferring from your Android device. Now, you might have already started using your new iPhone before you realized you had to transfer the data. Don’t worry, all you need to do for this is to clear up space on your iPhone before moving the data. Just back up your iPhone before erasing it and you won’t lose any of the data that’s already there.
Lastly, although this is obvious, you must make sure that both the phones have sufficient charge before the transferring process begins as it might take a while to complete.
2. Set up your iPhone
This is a basic but necessary step. Find the 'Quick Start' page on your iPhone and choose 'Set Up Manually'. Now, make sure that you select the same Wi-Fi network your Android device is using and connect to it. You will be greeted with a number of prompts. Just keep following them until you reach the 'Apps & Data' page. Once you are there, tap on the 'Move Data from Android' option.
3. Download 'Move To IOS' on Android
Next, you need to get the Move to iOS app for your Android phone. Go to the Google Play Store and search for the Move to iOS app. Bear in mind that there are a number of imitations of the app on the Play Store. Make sure you get the Apple version of the app.
In case you can’t access the Google Play Store on your Android phone for some reason, you can also download Move to iOS directly from Apple's website.
Download and install the app on your Android phone and tap 'Continue'. You will soon come across the 'Find Your Code' option. Click 'Next' in the top-right corner. Once you have done so, tap 'Continue' to generate a numerical code on your iPhone. You will need to type this code into the Move to iOS app to link your Android device.
4. Carefully select the data you have to transfer
Now, this is an important step. Once your Android device is connected to your iPhone, you should carefully select the data you have to transfer. On the ‘Transfer Data’ page, you will see the option to choose what you would like to copy to your iPhone. You don’t need all kinds of data and must select the option wisely (you will see options like Email Account, Contacts, Camera Roll, etc).
You mustn’t move more data than you have space for on your iPhone because that may create issues later. The good thing is that you would be able to see how much space each type of data occupies underneath each item on the list.
Once you are all set, tap on 'Next' on your Android phone. The data transfer will now begin!
5. Wait for the transfer process to complete
After the transfer process begins, you will see a progress bar on both your Android phone and your iPhone. This would mean that the Move to iOS is working properly and is transferring the data between the devices. This might take time depending on the size of the data, so you need to be patient. Do not disturb the transfer process and leave the devices alone. Make sure the devices are properly connected to your Wi-Fi.
After your Android phone says the transfer is complete, wait for a few minutes. Leave Move to iOS open until the progress bar has filled up on your iPhone, too.
This transfer process may also be delayed if your Wi-Fi speed is slow. A good idea would be to connect both the devices to an outlet so that they are not drained midway through the transfer.
6. Finish the setup process
Once the transfer is complete, you tap "Done" in the Move to iOS app on your Android phone and close it. Next, you need to follow all the prompts on your iPhone screen to finish the setup process. Create an Apple ID account if you haven’t already as that will allow you to decide on the different iPhone settings you choose.
After the setup process is complete, you will get a prompt to sign in to your Apple ID account to download free apps from your Android device.
After that, you must do a thorough checkup of all the data to make sure it has been successfully transferred from your Android phone. If you notice something missing (most likely local music, books, PDFs, and documents), you can move them manually. For that, you will need to transfer those files from your Android phone to a computer and then sync your iPhone to the same computer.
Know someone who's switching from an Android phone to a new iPhone? Share this post with them.

