There is a problem I have encountered many times over the years, and recently I've heard more and more people talking about it, so I realized I am definitely not the only one – the storage space in my Google account is running out, and I need to delete files or pay to store new things in the cloud. Indeed, every time Google notified me that my storage space was shrinking, I started deleting emails, files from Google Drive, and photos and videos that I actually wanted to keep.
However, recently I discovered there is a simple and efficient solution that doesn’t require deleting or paying for more storage. The solution is downloading the files stored in the cloud to your computer or transferring them to another free cloud account, but the problem is that it's not very convenient or easy to do, unless you are familiar with the Google Takeout system, which allows you to download files to your computer or transfer them to other cloud accounts easily and quickly, without wasting many hours on it. In the following guide, you will learn how to do it without any problem and how to free up space in your Google storage with peace of mind.
First, click here to enter Google Takeout. This system allows you to export any type of information stored in your Google account, including emails, photos, videos, calendars, contacts, and more. In short – if it exists in Google's systems and is related to your activity in Google, you can download it from here.
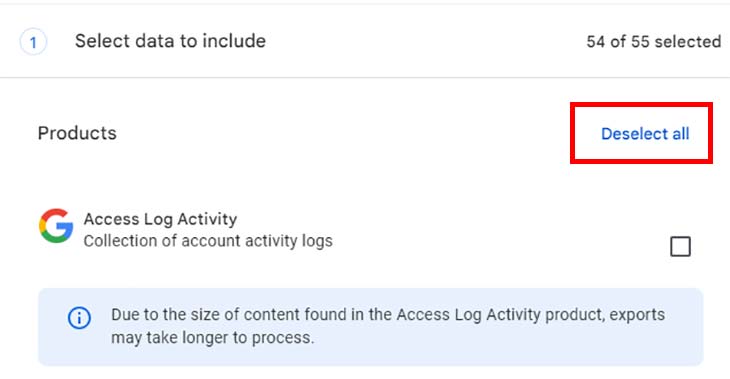
Now you need to select the systems from which you want to export information. For example, it is likely that most of the files taking up space in your Google account are photos and videos or files you have uploaded to the cloud, which you can find in the list under the names Google Photos and Google Drive, respectively. By default, all Google services are selected, so if you only want to select specific services, click on Deselect all under the first step in the process (Select data to include), and then choose the desired services. As mentioned, we recommend selecting the photo services, the cloud, and you can also choose the email services (Mail).
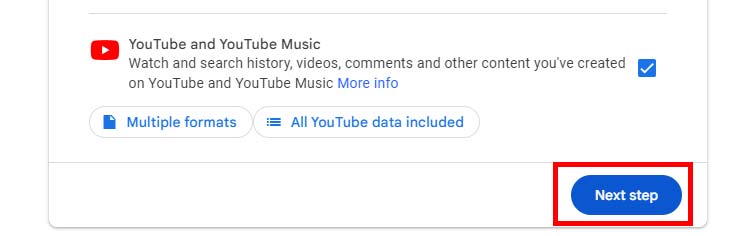
After selecting all the information you want to export, scroll to the bottom of the page and click Next step.
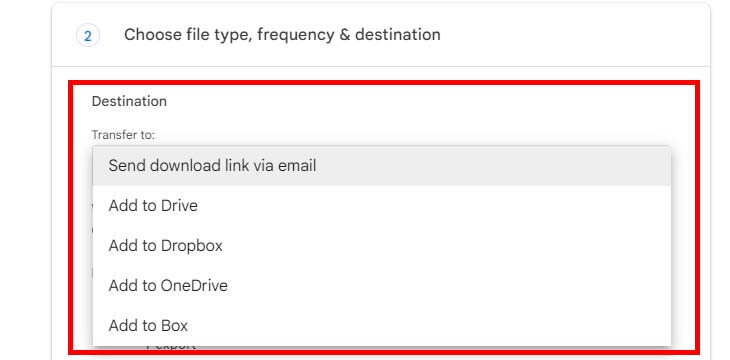
Now you need to choose the destination for sending the files and information. To do this, click on the option under Transfer to, and choose the destination from the list:
- Send download link via email – You will receive a link to download the files by email. Once the files arrive, you will have a week to download them to your computer.
- Add to Drive – Transfer a copy of the information to Google's cloud service. You will receive a link by email, but if you want to free up space in your Google account, this will not help, it will only burden it further.
- Add to Dropbox – Copy the selected files to your Dropbox account.
- Add to OneDrive – Copy the selected files to your Microsoft cloud account.
- Add to Box – Copy the selected files to your Box account.
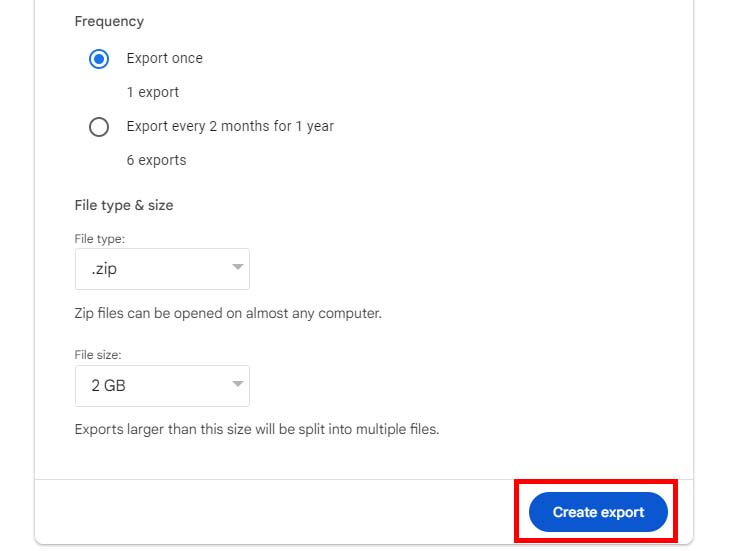
After that, you can choose the frequency with which Google will export the information in this way. You can choose only once (Export once – this option is selected by default) or every two months for one year (Export every 2 months for 1 year).
In the next step, you choose the export file type - zip (selected by default) or tgz, and it is recommended to choose a zip file, which can be opened without any special software on almost any computer.
Finally, choose the file size you want to export. If the total file size exceeds the size of the file you chose to export, they will be split into multiple zip files. If you have a computer running an older operating system, it is recommended not to choose more than 2GB, as you may not be able to open them. In any other case, you can choose any file size you want, and if you are freeing up space from a full free Google account, it is recommended to select the 50GB option to get just one file. To finish, click on Create export.
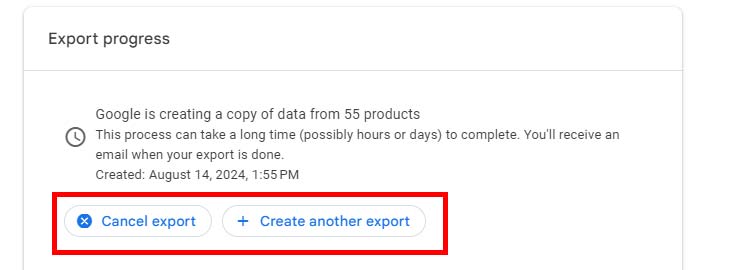
That's it. Now all that's left is to wait for the files to reach their destination, which can take several hours to several days. If you think you made a mistake and want to cancel the export of the files, you can click on Cancel export, and if you want to export files again, for example to another cloud account, you can click on Create another export and repeat the process.
Note! The export process is indeed complete, but you still need to wait to receive the files. Therefore, before you rush to delete the files you exported from your Google account, wait until the entire process is finished, and only after you have confirmed that all the files have reached their destination correctly, you can enter the required service pages and delete the data and files from there, freeing up new space in your Google account. Alternatively, you can enter Google Drive, and if your storage space is indeed almost full or completely full, a red notification about this will appear at the top, as well as a link called "Free up storage space" – click on it.
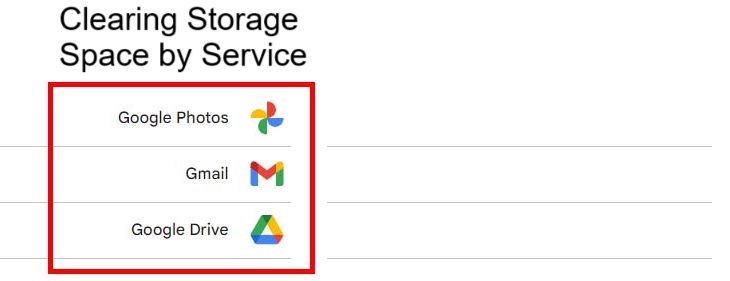
On the page that opens, you will receive suggestions for deleting items. Click on the type of service from which you want to delete items.
Then select the items you want to delete and click on "Delete" or "Move to trash" at the top of the screen (the option varies depending on the type of service from which files are being deleted).
You can also enter the service pages themselves and delete additional files from there if you wish. As long as you have backed up all the information in them, you can delete it without worrying about losing the data permanently.
Bonus Tip: How to add storage space in Google without paying
If you do not want to delete files from your Google account and primarily use it for backing up photos, you can open up to 2 additional Google accounts (since Google limits the number of accounts to 3 per phone number), and in the new account you create, you can choose to store the photos you take, so you won't have to delete any items from your existing Google account. From the moment you set up your second (or third) Google account for storing photos in the Google Photos app, you will have additional storage space that will be designated solely for the photos and videos you take.