
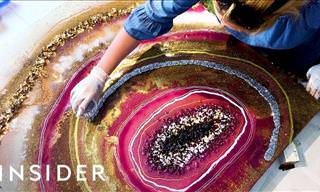
Epoxy resin has become a tremendously helpful polymer since its invention in 1956, and its use has led to the production of amazing items like jewelry, Judaica, and kitchen surfaces, as well as industrial and domestic flooring. The polymerization process of epoxy resin produces a three-dimensional structure that is incredibly durable and has a limited rate of shrinkage - around 2% on average. It's truly incredible! Epoxy resin is remarkable for its capacity to bind and stick (it's one of the most powerful adhesives and can be used on an extensive variety of materials, from metal to concrete). It also offers uniform polymerization (crystallization and hardening) making it possible for the average home user to craft a consistent and secure material with basic home items.
Epoxy resins generally contain four components: the monomer resin, the hardener, the accelerator and the plasticizer. (Those who remember the intricate blending of the accelerator before the hardener from the polyester days will find this quite exciting).
When shopping for an epoxy resin kit, we'll find two components in the package - a base and a hardening catalyst. This catalyst is what kickstarts the chemical process of polymerization, although it does not allow epoxy to reach its full potential. As such, its shelf life is relatively short, usually two years. To get the best results, it's essential to measure the ingredients precisely, either by volume or weight, and to mix them thoroughly. Hobbyists should be aware that if they mix too quickly or inaccurately measure one of the layers, they may end up with an unfinished product. In this case, the un-hardened epoxy should be cleaned and the casting should be left to rest for a few weeks before pouring in the newly-mixed epoxy.
Epoxy resin can be stirred or mixed by hand or with the help of special tools like a mixer or a drill-mounted stirring rod. Be sure to mix at a low speed and carefully to avoid creating bubbles. If too many bubbles form, they can make the epoxy cloudy, making it important to let it rest before pouring, preferably in slightly warm water. Heat is really helpful when working with epoxy as it makes it more liquid and helps the bubbles escape. (That's why we often use a burner or a heat gun to get rid of the bubbles on the epoxy surface.)
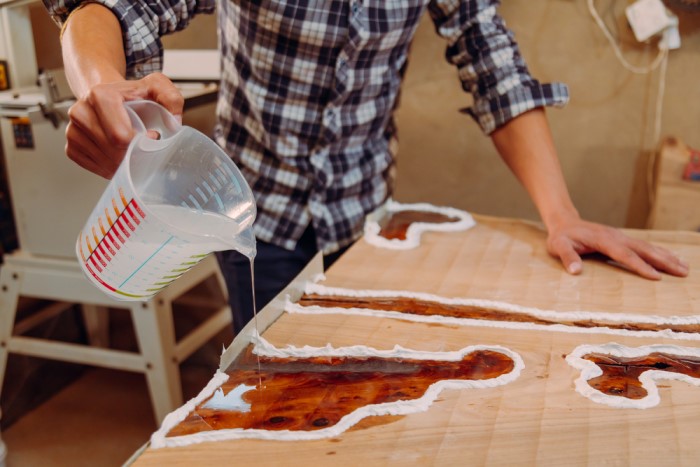
Heat causes the epoxy resin to harden faster. Therefore, if we are not careful when heating the surface on our epoxy table with a burner, we will create a rough and wrinkled crust on the table, like the crust that forms on milk when it is heated. Epoxy can be as clear as water or glass ("crystal clear epoxy"). In fact, it is sometimes marketed as a "liquid glass" solution (another common name for epoxy is "cold enamel"). Epoxy can create some seriously incredible color effects, either transparent or opaque. You can use any type of paint you want - watercolors, oil paints, acrylics, food colors, or even colored sand!
The only thing you have to watch out for is using too much paint, as that can prevent the epoxy from hardening. Additionally, some colors don't mix evenly, such as oil and acrylic, and can remain as lumps in the resin, creating defects- especially on the surface. The only solution for this is to pour a thin transparent layer over them. It's also quite fun to mix opaque colors with transparent ones, or colors with different bases, such as watercolors and acetone/alcohol-based paints, as it results in some really interesting effects!
There are tons of amazing and eye-catching colors and pigments out there! Acetone-based glass colors, alcohol inks, pearl powders, metallic pigments, and fluorescent pigments - they all have something special to offer. Even liquid pigments for epoxy are an option, though they're not necessarily better than the others. But, hey, who knows - the possibilities with epoxy for art and design are seemingly endless! It's an exciting opportunity to explore!
 6:44
6:44
Make Your Own DIY Never Stopping Fountain - It's Easy!
With just a little bit of physics know-how, learn to make your very own non-stop fountain!
 10:48
10:48
29 Genius Recycling Ideas for This Summer!
These cool ideas are just what you need to deal with the heat of the summer, find new uses for items you never thought to use this summer!
 5:24
5:24
Don't Discard An Old Car Shock Absorber! It’s Quite Useful
Have an old car shock absorber in the garage you have been itching to throw away? DON'T! You can use it in many brilliant ways.

Follow These 5 Easy Ways To Make a Face Mask At Home
Follow these easy and useful tips to make an emergency face mask at home and protect yourself.
 15:27
15:27
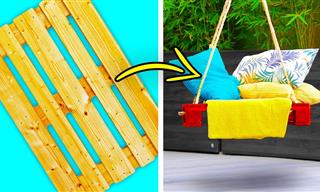
33 Ways to Make Comfortable Furniture at Home
This tutorial video shows you no less than 33 ways (!) to create your own quick and easy furniture at home!
 6:44
6:44
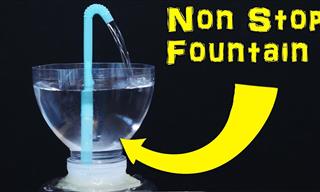
How to Build a Heron's Fountain That Runs Forever
Make your home a soothing sanctuary with this DIY non-stop water fountain.
 5:13
5:13
This Young Girl Plays the Violin Like No Other
Masha Marshon impresses everyone with her violin skills. I've never heard such beauty before.
 3:43
3:43
This Emotional Duet Gave Me Goosebumps of Pleasure
These two world-famous artists are amazingly talented singing alone, let alone when they join to give an emotional duet like this.

Revisit Shakespeare's Plays With These Lovely Animations!
Get to know Shakespeare's plays a lot better with these 12 animated summaries.

14 Fantastic Magic Tricks and Illusions You Really Must See
Magic tricks are always fun to watch! So, in this post, we bring you 14 of the best magic tricks and illusions that have been featured on Baba-Mail.
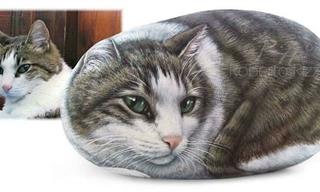
Any Animal Lover Will Appreciate These Whimsical Artworks
Artist Roberto Rizzo uses rocks as a canvas for his animal paintings - and the results are incredibly realistic works of art.
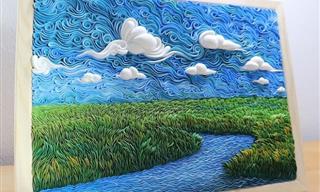
Dreamy 3D Landscapes Inspired by Impressionist Art
This artist creates fluid 3D landscapes reminiscent of the works of famous Impressionists.

These Are the MOST Detailed Miniature Rooms I’ve Ever Seen
You won't believe these antique rooms aren't actual buildings, but cleverly crafted miniatures created by a talented artist...
 3:59
3:59
An Amazing Violinist Plays One of Your Favorite Songs
Taylor Davis started playing the violin when she was just 8, and she hasn’t looked back since. This is her version of "My Heart Will Go On." Take a look.
 4:53
4:53
Over the Rainbow, There's a Musical Show With André Rieu
Andre Rieu, with Suzan Erens and His Johann Strauss Orchestra, performs 'Somewhere Over The Rainbow' from The Wizard of Oz.

This Artist takes Generic Photos & Spices them with Doodles
When generic photos meet a creative illustrator, everything is possible...

Have You Seen the Exquisite Paintings of Steve Hanks?
Have a look through the inspiring work by watercolor painter, Steve Hanks.

Can You Believe This Realistic Art is Made from Scratches?
This form art is unlike any other. Discover more about scratchboard art right here.
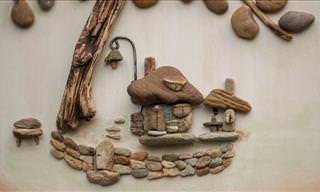
You Need an Eye for Detail to Create This Art
This artist is inspired by nature and creates stunning art using stones.

Joni Mitchell: the Singer-Songwriter Who Could Do it All
The best songs by Joni Mitchell throughout the years
 1:51:22
Full Documentary: The Life and Art of Hieronymus Bosch
Join us on a journey through the hellscapes and heavenly realms of Bosch's mind, as we unravel the mysteries behind his haunting masterpieces.

These Oil Paintings Beautifully Capture Colonial America
Contemporary American artist Meadow Gist magnificently re-imagines Colonial America in her beautiful oil painting, sweeping you away to a bygone time.

These 14 Ancient Theaters are a Sight to Behold!
There are some stunning Greek and Roman theaters scattered around the Mediterranean. Take a look at a selection of them here!
 24:57
24:57
Andrea Bocelli’s Easter Performance Should NOT be Missed
To lift people’s hearts this strange Easter, Italian music icon Andrea Bocelli gave a performance at Milan’s Duomo cathedral on Easter Sunday
 5:32
5:32
André Rieu's Performance Took a Surprising Turn When...
This incredible performance brought the whole theater to their feet in a standing ovation!
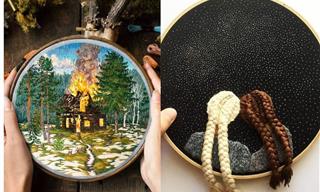
The Unbelievable Embroidery Skills of 10 Talented Artists
Some would call embroidery a lost art, but the incredible works of these contemporary embroidery artists sure prove otherwise.

Stevie Wonder: 24 Hit Songs by the Legendary Musician
The greatest hits by the musically-gifted Stevie Wonder

Learn Some Fascinating Facts in the Most Fun Way!
Just Keep Thinking is a project making information about the world accessible and fun through fun colorful illustrations. Scroll to learn something new!
 4:40
4:40
These Artists Have Unique Ways of Creating Masterpieces
Here are 13 artists who have innovated amazing new and unique ways of creating different types of art, making use of the most unconventional material, from sink strainers to bubble wrap.
 3:06
3:06
Andre Rieu Plays Kalinka Like You've Never Seen It!
Hope you enjoy this wonderful performance as much as the people in this fantastic crowd did.

A Beautiful Tribute to Nina Simone's 'Feeling Good'
Listen to Nina Simone's timeless classic, 'Feeling Good,' with a selection of beautiful imagery to match the lyrics.
 5:39
5:39
WATCH: This Pair Skating Routine Will Give You the Chills
Pair skating is an artful, beautiful sport that takes years of practice to get right. Watch this stunning routine by partners Vanessa James and Morgan Cipres.
 4:57
4:57
This Human Tower Is An Incredible Acrobatic Performance
An astounding acrobatic performance I can't stop watching.
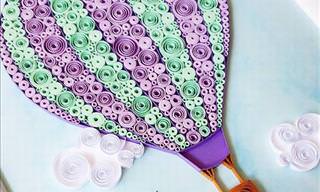
Have You Ever Seen An Art Form More Unique Than This?
Take a look at her incredible designs right here! Beautiful!
The Fascinating History of the Color RED
Red is the first color humans learned to utilize in art and a color that has a deep symbolic meaning across all cultures. Learn about the history of red in art.
 10:51
10:51
A Spellbinding Violin Rendition of a Beautiful Classic
Norwegian violinist Mari Samuelsen plays a beautiful part of Vivaldi's 4 seasons, Concerto no. 2, Summer.
 12:23
12:23
This Child Makes Any Music Lover Smile With Joy
This child prodigy is an amazing classical music player.

Hilarious: The Secret Life of Cat Owners
Every cat owner will be able to recognize their own feline in these hilarious comics!

8 Historical Biographies that Come Extremely Recommended
Exploring 8 fantastic historical biographies and offering an alternative read for each subject.
 5:26
5:26
If Ever Two People Were Meant to Sing Together, This is It
Andrea Bocelli's duets are among the god-sends that make our days so pleasant. And this duet with Katharine McPhee is positively heavenly.

12 Short Poems By the Some of the Greatest Poets!
These 25 short profound poems are brought to you by famous poets from different eras and will bring peace to any turbulent day.
 16:06
16:06
This Beautiful Boléro Builds to An Epic Crescendo!
Valery Abisalovich Gergiev conducts the classic Boléro by Ravel in a gorgeous video.

This Video Collection Will Turn You Into an Artist!
If you've ever wanted to learn how to draw but had no clue how to start, all that's about to change thanks to this video guide. Watch the videos and draw away!
 4:48
4:48
This Performance Requires Incredible Skill and Strength!
2 Incredible Acrobats put on a phenomenal show!
 6:28
6:28
Unbelievable Talent: 5 Unforgettable Dance Performances
Although these dance performances are from different genres, they all have one thing in common: the wow factor. These talented dancers will leave you in awe...
 6:21
6:21
Pianist Tiffany Poon Playing Schumann In a Must Listen
Listen to the incredibly talented and award-winning pianist Tiffany Poon play a lovely rendition to Schumann’s Sonata No. 2

Gosh, These Artful Sculptures are Quite Brilliant
Discover some of the most creative and innovative street statues from around the world.
To enable your Ad-Free Subscription, please fill the fields below
Your subscription was successful, now you can enjoy an ad-free experience!!
Note: To make sure you get no ads, please make sure to log in to your account. If you are logged in already, then refresh the page. The subscription can be cancelled at any time.


